Starting a Minecraft Server 101
So you want to publicly host a server for you and your friends to play on? Minecraft is an awesome first project to get your feet wet in the server administration world. It’s also a good intro to Linux, Java, and basic system utilities like GNU Screen, TMUX, and BASH. This is part one of a series I will be working on which will introduce you to the Minecraft server ecosystem. Minecraft is the number one selling game of all time, and it continues to be a great multiplayer experience in a procedurally generated world where the only limitations are the ones you impose.
Step One: Find a Host (Example using Digital Ocean)
If you follow the noise, you might be persuaded to move to something like Bisect, Apex, or the like host which have built their entire advertising system around simple Minecraft deployments and the promise of a low cost monthly fee for decent system specs. I’ll let you know up front, I’m not writing this article for people like that. No, this article is all about having full root access and access to a working DNS server with your own custom domain name. If all that sounds scary, then fear not! Everyone has to start somewhere and hopefully I can make this an easy process - well at least a little “less hard.”
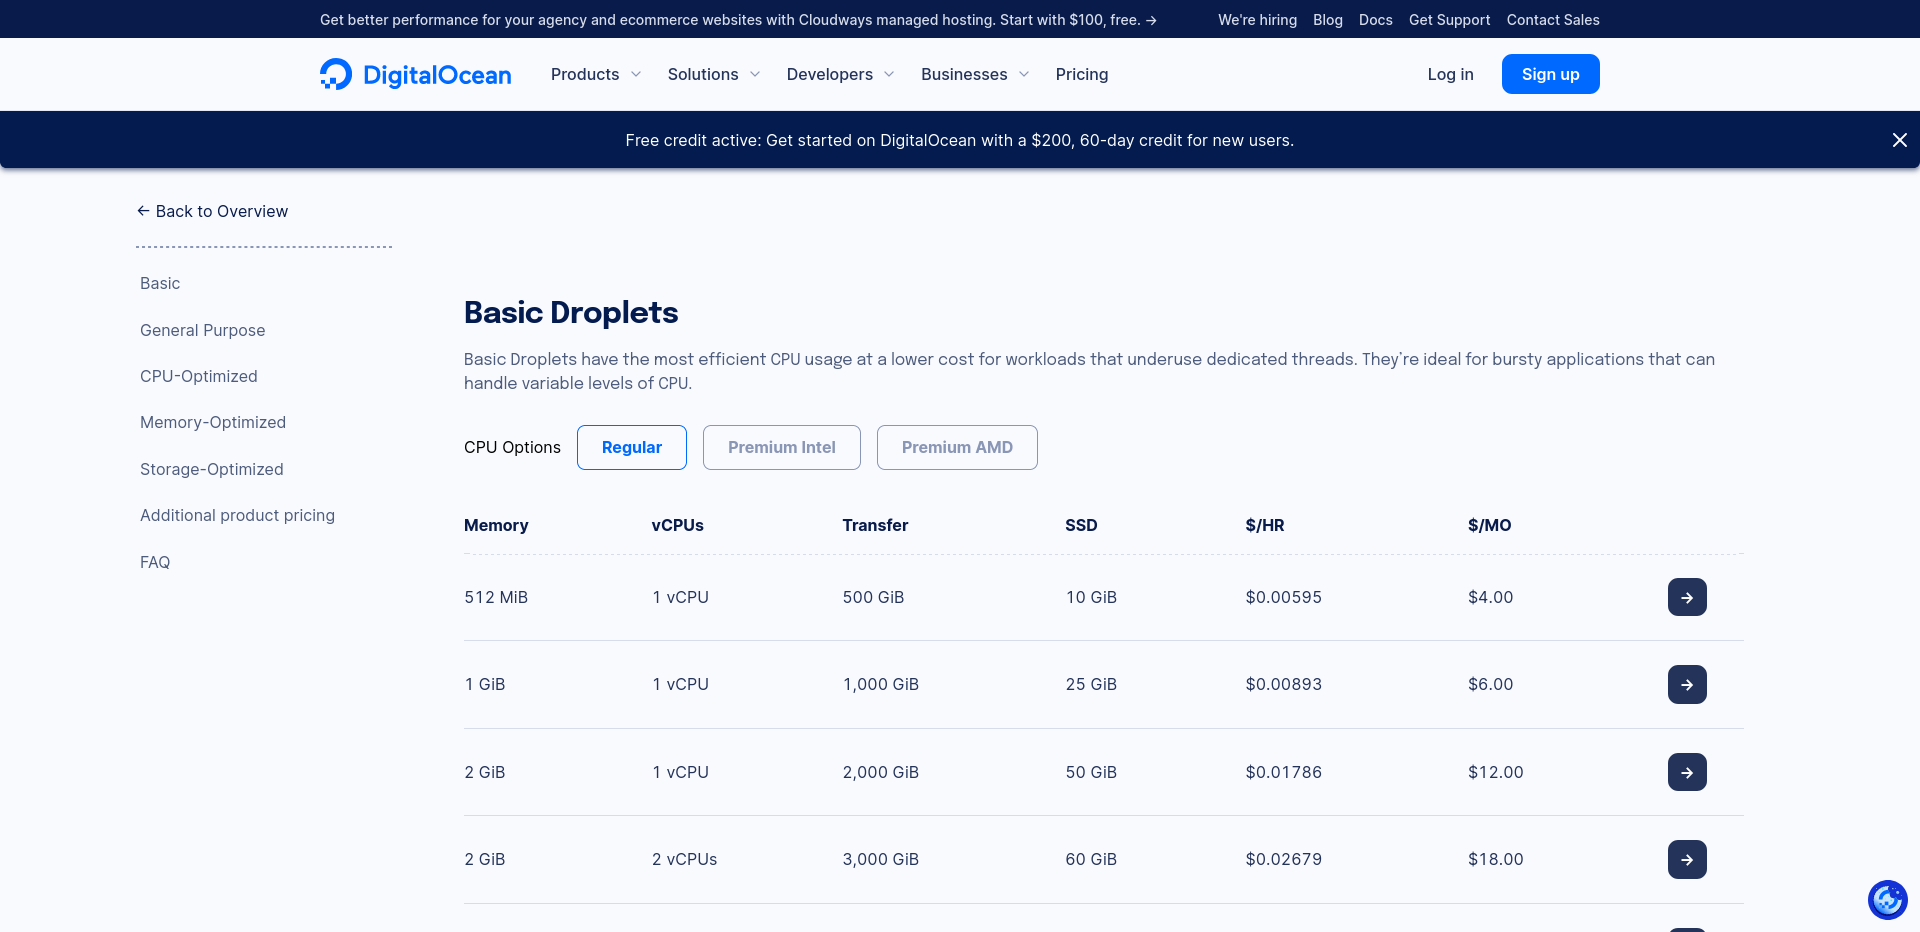
If you want a really super simple solution to get full root access and included DNS tools then Digital Ocean or Vultr are pretty good places to start. Some devs also recommend Linode, but I can’t vouch for them since they’ve been acquired by Akamai. I managed the Pixelfish Club’s hosting on Digital Ocean for over four years with decent performance at a low cost. Of course, they’ve outgrown that solution since then and have moved on to a dedicated provider OVH. At any rate, you can go a long way for your money using a decent VPS solution.

You can usually do fine using an 8GB option. Keep in mind that the 8GB is not just dedicated to your Minecraft instance! You will be running Linux underneath it. Even using something like Alpine linux, you will still need around 500-800 MB to run the system. Going back to the Pixelfish server, I had to resort to using the NVME space for swap and adjusting the swappiness value on the kernel to keep it from crashing with more than 8-10 players online.
One of the cool things about Digital Ocean is there highly intuitive DNS dashboard. You could buy your domain name with anyone and then point it to their nameservers. Hell, I use it for all my websites as a dedicated DNS platform just because of the ease of use.
Step Two: Get a domain name
This one is easy, as there are a multitude of domain name registrars out there. GoDaddy, Namecheap, and Bluehost, just to name a few. A good domain name will set you back anywhere from $4-$20 USD per year. If you select a premium domain name or something popular, the registrar might charge you extra. Domain name “camping,” as I like to call it, is a whole industry unto itself. Once you’ve selected a domain name your happy with, your registrar should have a way for you to add custom nameservers to resolve your new domain. You’re going to want to point those to Digital Ocean’s, which are pretty easy to remember:
- ns1.digitalocean.com
- ns2.digitalocean.com
- ns3.digitalocean.com
After this, we’ll need to setup your server. For the rest of this tutorial, we’ll assume you are using Digital Ocean. BTW, I’m not getting paid to recommend them! They are just genuinely really easy to get up and running.
Step Three: Setup a Droplet
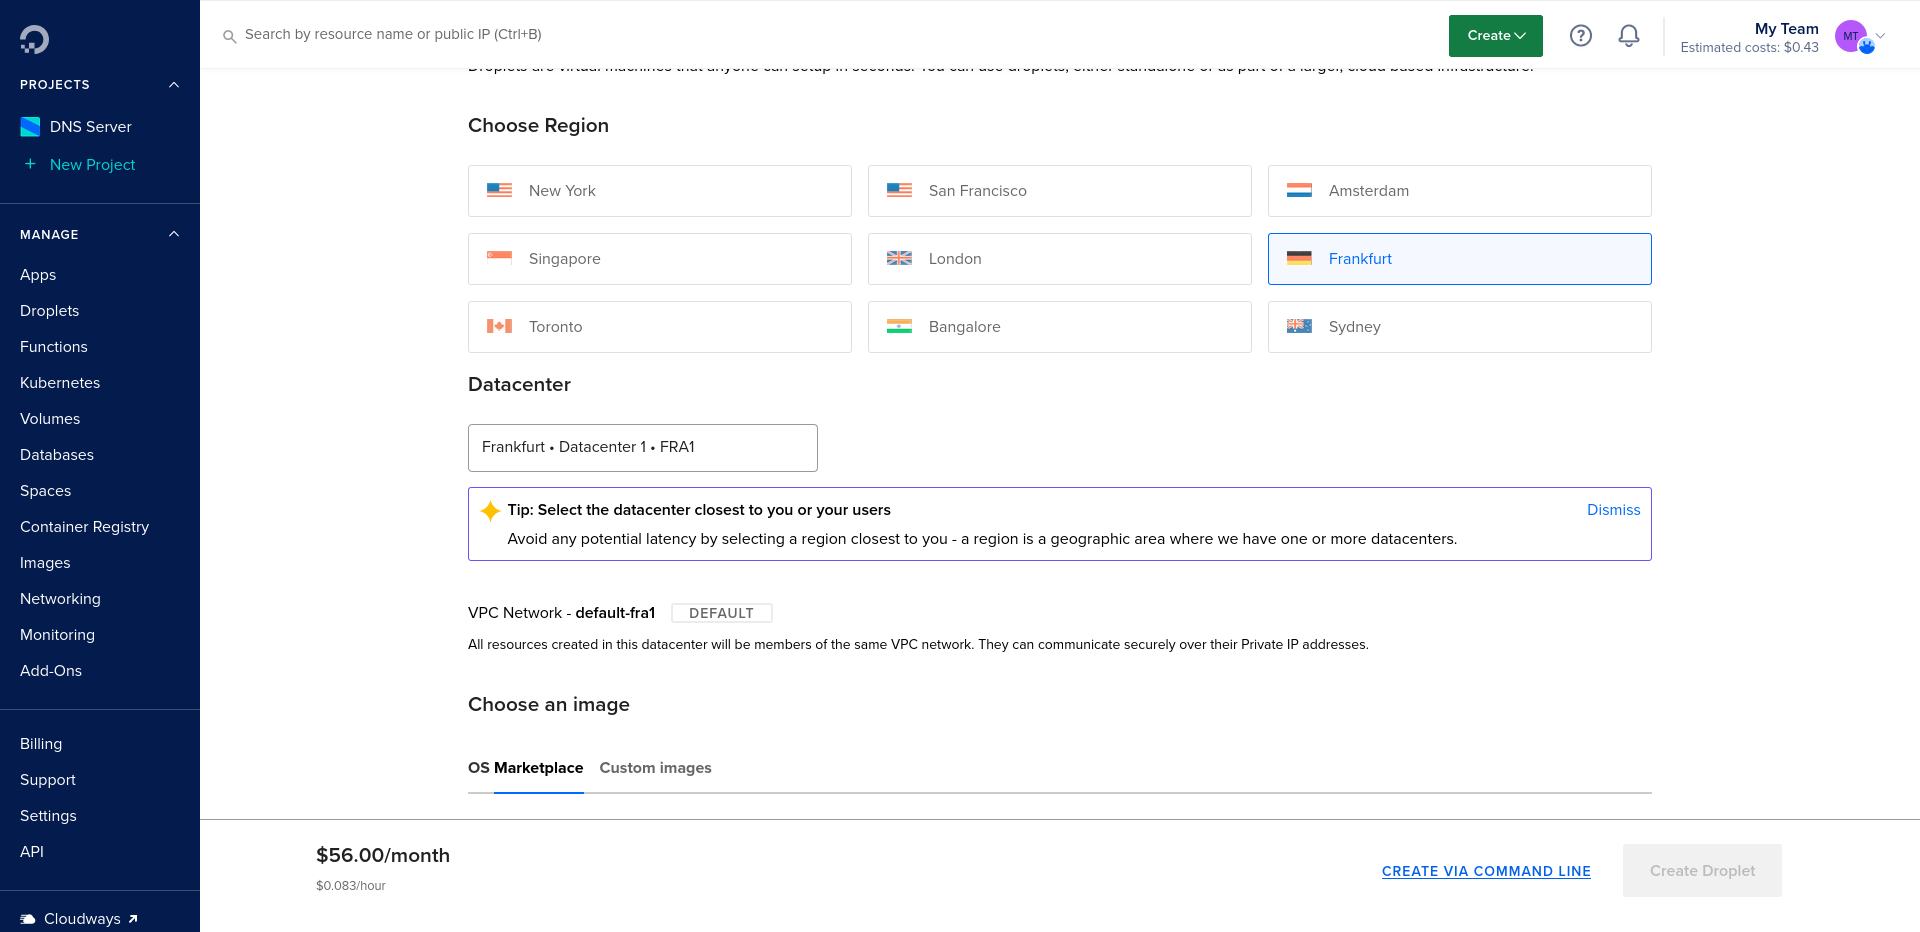
Selecting a region

This is important, especially for ping times. If you are playing in the United States and are targeting that audience, then go with one of the U.S. based servers.
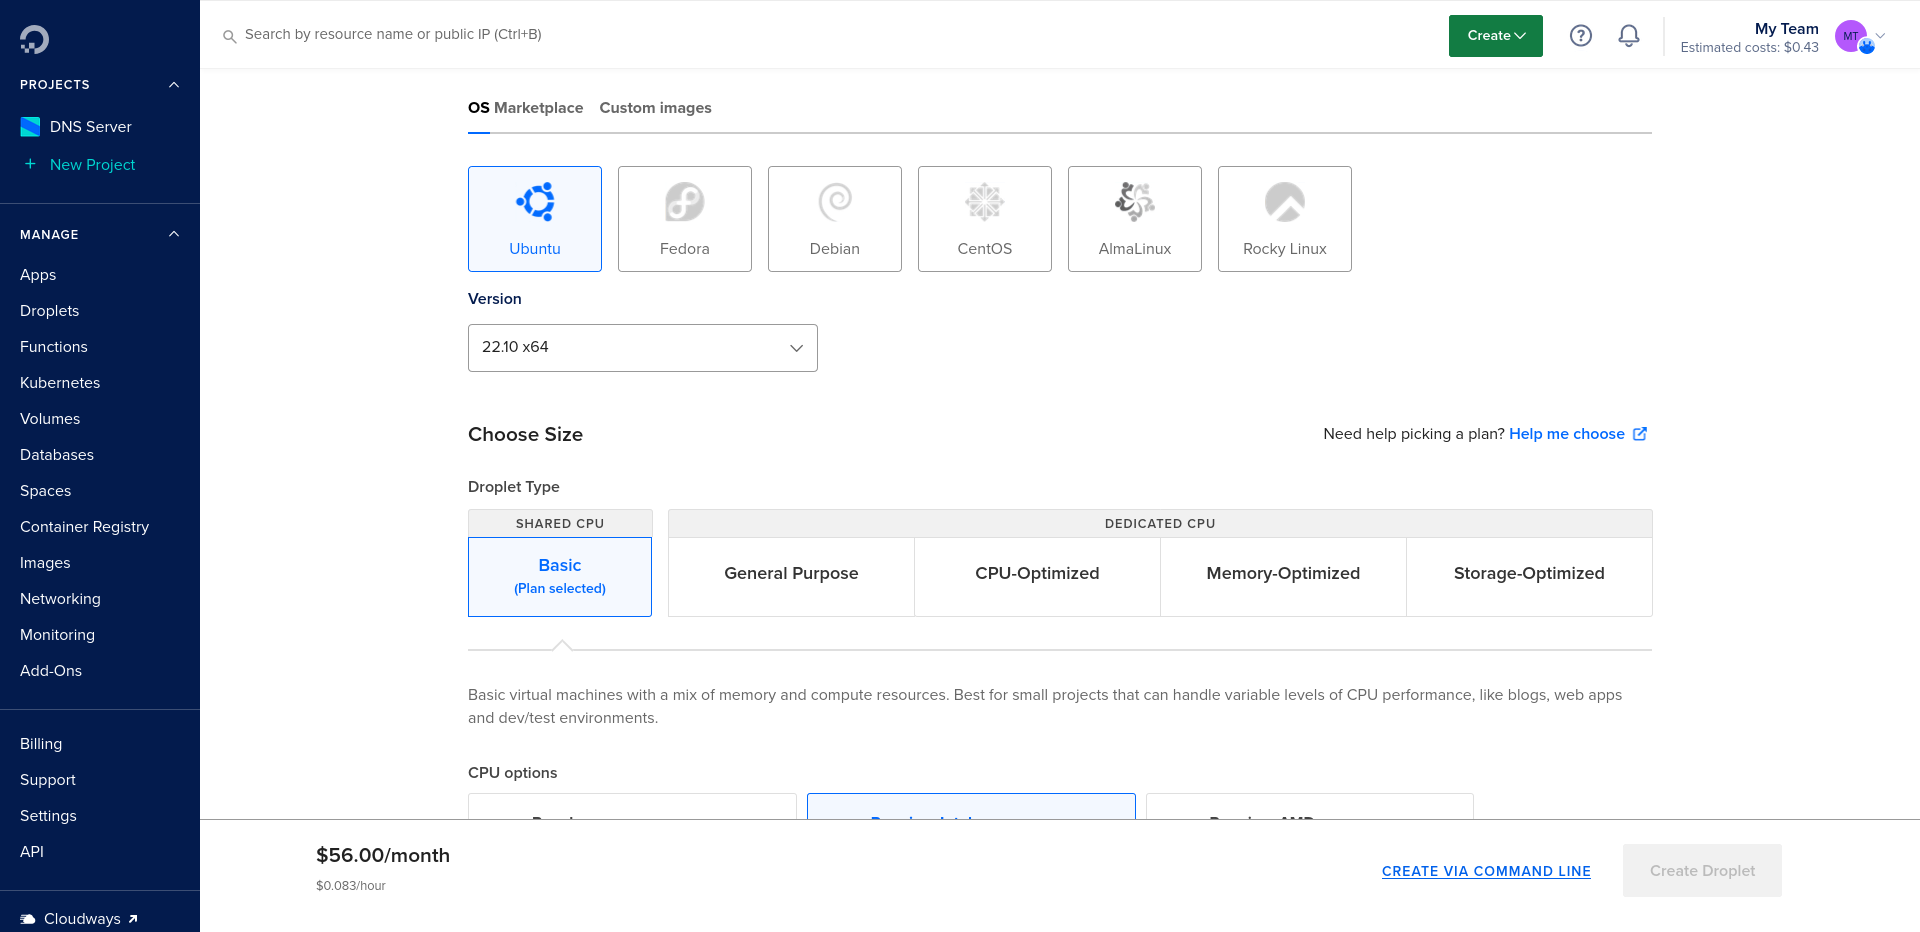
Selecting an OS Image

This is one of the most important choices you can make IMO. A lot of developers will tell you that Linux is Linux: pick a distro, but that is not the case for this particular choice (and yes, I probably just started a flame war in someone’s chair - LOL). You will want a relatively stable Linux Distribution such as Rocky Linux, Alma Linux, or Ubuntu if you want predictability. I personally use Fedora but only because it has access to cutting edge versions of my working languages: PHP, Python, Go, and Java. However, I would not recommend it for you at this stage unless you are willing to jump head first into SELinux gotchas and frequent updates. I would also not recommend CentOS since it has changed it’s direction quite a bit and Debian uses quite old packages - even if it is touted for stability.
You can also download your own custom image and upload it to Digital Ocean. The catch is, you will need a QCow/Cloud image since you won’t have access to the terminal during setup. Most Distros provide downloads for this very purpose, so be sure you’re downloading the right one if you choose to go this route. If you really want to squeeze the most bang out of your VPS, you can’t go wrong with Alpine. Doing so, unfortunately at the moment, is out of the scope of this tutorial because you have to download some custom scripts to get it to work on there. Hopefully, Digital Ocean adds it as an option soon.
For this article I will assume you go with an available option. More specifically, Ubuntu, AlmaLinux, or Rocky Linux. The only real difference between them is their base and package managers. Any of them is a good choice. I personally prefer the Redhat family i.e. Alma, Rocky vs. the Debian-based Ubuntu. It’s just a personal choice, but Ubuntu is a great server OS.
Step Four: Logging in to your Droplet
Once you create your new droplet you will see the public IP address to your new image. You should also have a root password provided by the completion script. You can do one of two things at this point:
- Use the built-in Terminal on Digital Ocean
- Login using SSH (May not be installed by default on some images)
Using SSH on Windows is not a native, beginner-friendly process. The easiest thing would be to download the PuTTY client and go from there. Windows 10 and above offer some pretty impressive tools with the Windows Subsystem for Linux (WSL) but it is beyond the scope of this tutorial - and honestly, I haven’t used it much since I run Linux on all my home PCs. The command to ssh into your new box from a BASH terminal is as follows (replace the x’s with you actual IP address):
ssh root@xxx.xxx.xxx.xxx
You will be prompted to enter your root password (provided by Digital Ocean). If all went well, you should be logged in to you newly created GNU/Linux server. Breaking this command down into plain English is as follows: Use SSH to connect to the root user account on XXX.XXX.XXX.XXX.
Step Five: Changing your root password and installing required software
How to change the root password
To change the root password on a linux machine while logged in as root, enter the following command:
passwd root
You will be prompted to enter a new password and confirm it (Don’t lose it!!!). Once that’s finished, we’ll install some needed dependencies/software. I will presume from here on, that you are using Ubuntu. So, all commands you see from here on use the apt package manager.
Install package updates
Images get stale and you should make sure you have the latest versions of software installed for security.
apt-get update && apt-get upgrade
The first command will update your package repository info and the “&&” ensures the second command only runs once it exits successfully. The second command actually does the upgrade.
Install WGET
The wget utility is what we can use to download things from the internet.
apt-get install wget
For all prompts, select “Y” and let it download.
Install OpenJDK
Minecraft 1.19 and above requires Java17 and above to run. You can learn more about Java Edition requirements here. For this tutorial, we’ll install the OpenJDK version of Java.
apt-get install openjdk-18-jdk
This will install the latest (as of this article) version of the JDK available on Ubuntu. Once everything downloads, make sure to run the following command to both check that Java is installed and to check that the version is 18.x.x (where x is whatever minor and patch level it’s on when you run it):
which java
java -version
If the “which java” returns anything except: /usr/bin/java, then something went wrong and it probably says something like /usr/bin/which: no java found in… and a path. If this is the case, and it probably isn’t likely to happen, you will have to do some Googling to troubleshoot what went wrong.
Install Paper
Paper is the go-to performance vanilla solution based on Spigot but much faster and less prone to issues on low memory systems. You can download it by visiting their site: PaperMC Downloads - right click on the latest build in the list and copy the link. Back on your Ubuntu server, create a directory to install your new minecraft server. I would recommend (since we haven’t setup a user account to run minecraft) that you use the /opt directory and create a folder named minecraft and setup shop in there using the following commands:
mkdir /opt/minecraft
cd /opt/minecraft
wget https://api.papermc.io/v2/projects/paper/versions/1.19.4/builds/545/downloads/paper-1.19.4-545.jar
If you run “ls” you should see a single file in their: paper-1.19.4-545.jar. This filename may be different for you when you run this because the paper crew spew out updates fast! That’s it! You’re ready to get started. We’ll end this tutorial by starting up the server and trying to connect. Keep in mind, we are still running as the root user and this is not recommended once we actually get this up and running for the public. We’re just running a test though, so it’s ok for this step.
java -jar ./paper-1.19.4-545.jar
You should be prompted to accept the EULA which will be generated, along with other essential folders and files for Minecraft and Paper. You can view the new files using the “ls” command. I’m pretty sure Ubuntu ships with nano as a text editor so editing the EULA.txt file is as easy as doing the following:
nano eula.txt
You’ll see the following:
#By changing the setting below to TRUE you are indicating your agreement to our EULA (https://account.mojang.com/documents/minecraft_eula).
#Tue Mar 24 22:05:31 UTC 2020
eula=false
Edit the false to true and then, using your keyboard, press Ctrl + O then Enter to write and save your changes. Let’s try to connect! Start the server again using the above command and after some waiting, you should have a running Minecraft server. try to connect using the IP address of your host. If you can’t connect, it is most likely due to the firewall settings on your Ubuntu server. Back on your server type “stop” to shut it down and then run the following command to allow the Minecraft port:
ufw allow 25565
Now, start the server back up using the same command from before. ProTip: use the up arrow key to go back to previous commands. If all went well you should now be able to connect to your server. At this point you have a working server, running Paper with no plugins, as the root user in the /opt/minecraft directory. This is not ideal for running your server. For one, running anything as root is opening yourself up to all kinds of risk. Second, your server will shut down as soon as you close your SSH connection. So, in the upcoming tutorials, I will cover how to use screen and tmux to keep your server running in the background, where you can attach and detach from it to do maintenance as needed. We will also create a new user and change your minecraft folder ownership to that new user to run Minecraft under a non-privileged account for security. We’ll also cover locking your server down using SSH keys versus a password to prevent all those bots from password cracking your root account. After that, we’ll get into plugins, getting a website up and running, and setting up communication between your website and your running Minecraft server.
I hope you learned something from this tutorial. I am excited to get you up an running! For more information on what we’ve covered, check out the dedicated Digital Ocean page for setting up Minecraft on an Ubuntu server. This is another reason I highly recommend them for beginners: they have excellent documentation on all kinds of things you might need as a server administrator.


