Is it worth it to go all out dynamo’ on every project?
I’ve come to really ask myself this question a lot over the past year. More than not, I have found myself reaching for a static site option vs the traditional PHP approach. I think the reason for that is simple, at least for me, but depending on which one you go with your mileage may vary. For this segment, I’m going to focus on this little gem: Hugo, a static site generator written in the Go programming language. If you don’t know much about Go, you should check it out. It’s a powerful server side scripting language, praised for its speed, simplicity, and ease to get up and running fast. In fact, I’ve noticed more and more APIs and data-driven web app developers gravitating to it over other comparable languages, of which there are few.

Link: Official Website
GoLang is a statically typed functional programming language and Hugo is built on it. Hugo comes packed full of useful tools, functions, and utilities that harness some of that underlying language without actually writing quote, unquote: Go code yourself. It does have a similar templating syntax, but you would be fooled in thinking you can just inject normal Go code in there. No, in Hugo there is a particular approach and associated set of built-ins you will need to familiarize yourself with to get started. Admittedly, it is a little off-putting in the beginning, but once you’re up and running you’ll wonder how you ever did it any other way, plus Hugo’s website has awesome documentation. This article will get you up and running using Hugo on a typical Linux distro. For my Windows users, check out this link. Once you’re finished you can come back here and follow along.
Ok, now that the Windows users are off looking through the site, let’s get some actual work done on an actually half-way decent Operating System. Just kidding…or am I?
Installation
Most modern distros have Hugo in their official repositories, and it can be easily installed using the built-in package manager for your respective one.
Arch Linux
sudo pacman -S hugo
Debian
sudo apt install hugo
Fedora
sudo dnf install hugo
Using Snap
sudo snap install hugo
For the other ways of installing Hugo on Linux, check the official page here. For MacOS users, you can find your bliss here.
Checking out the commands
Once, you have Hugo installed you can see what kinds of things you can do with it by simply running:
hugo --help
As you can see from the output, there is quite a bit to ingest. The below has been shortened for brevity.
Available Commands:
  completion  Generate the autocompletion script for the specified shell
  config      Print the site configuration
  convert     Convert your content to different formats
  deploy      Deploy your site to a Cloud provider.
  env         Print Hugo version and environment info
  gen         A collection of several useful generators.
  help        Help about any command
  import      Import your site from others.
  list        Listing out various types of content
  mod         Various Hugo Modules helpers.
  new         Create new content for your site
  server      A high performance webserver
  version     Print the version number of Hugo
The only ones you really need to know in the beginning are the following:
#Creating a new hugo project (named blog in this case)
hugo new site blog
#Serve your new hugo site
hugo server -D --disableFastRendering
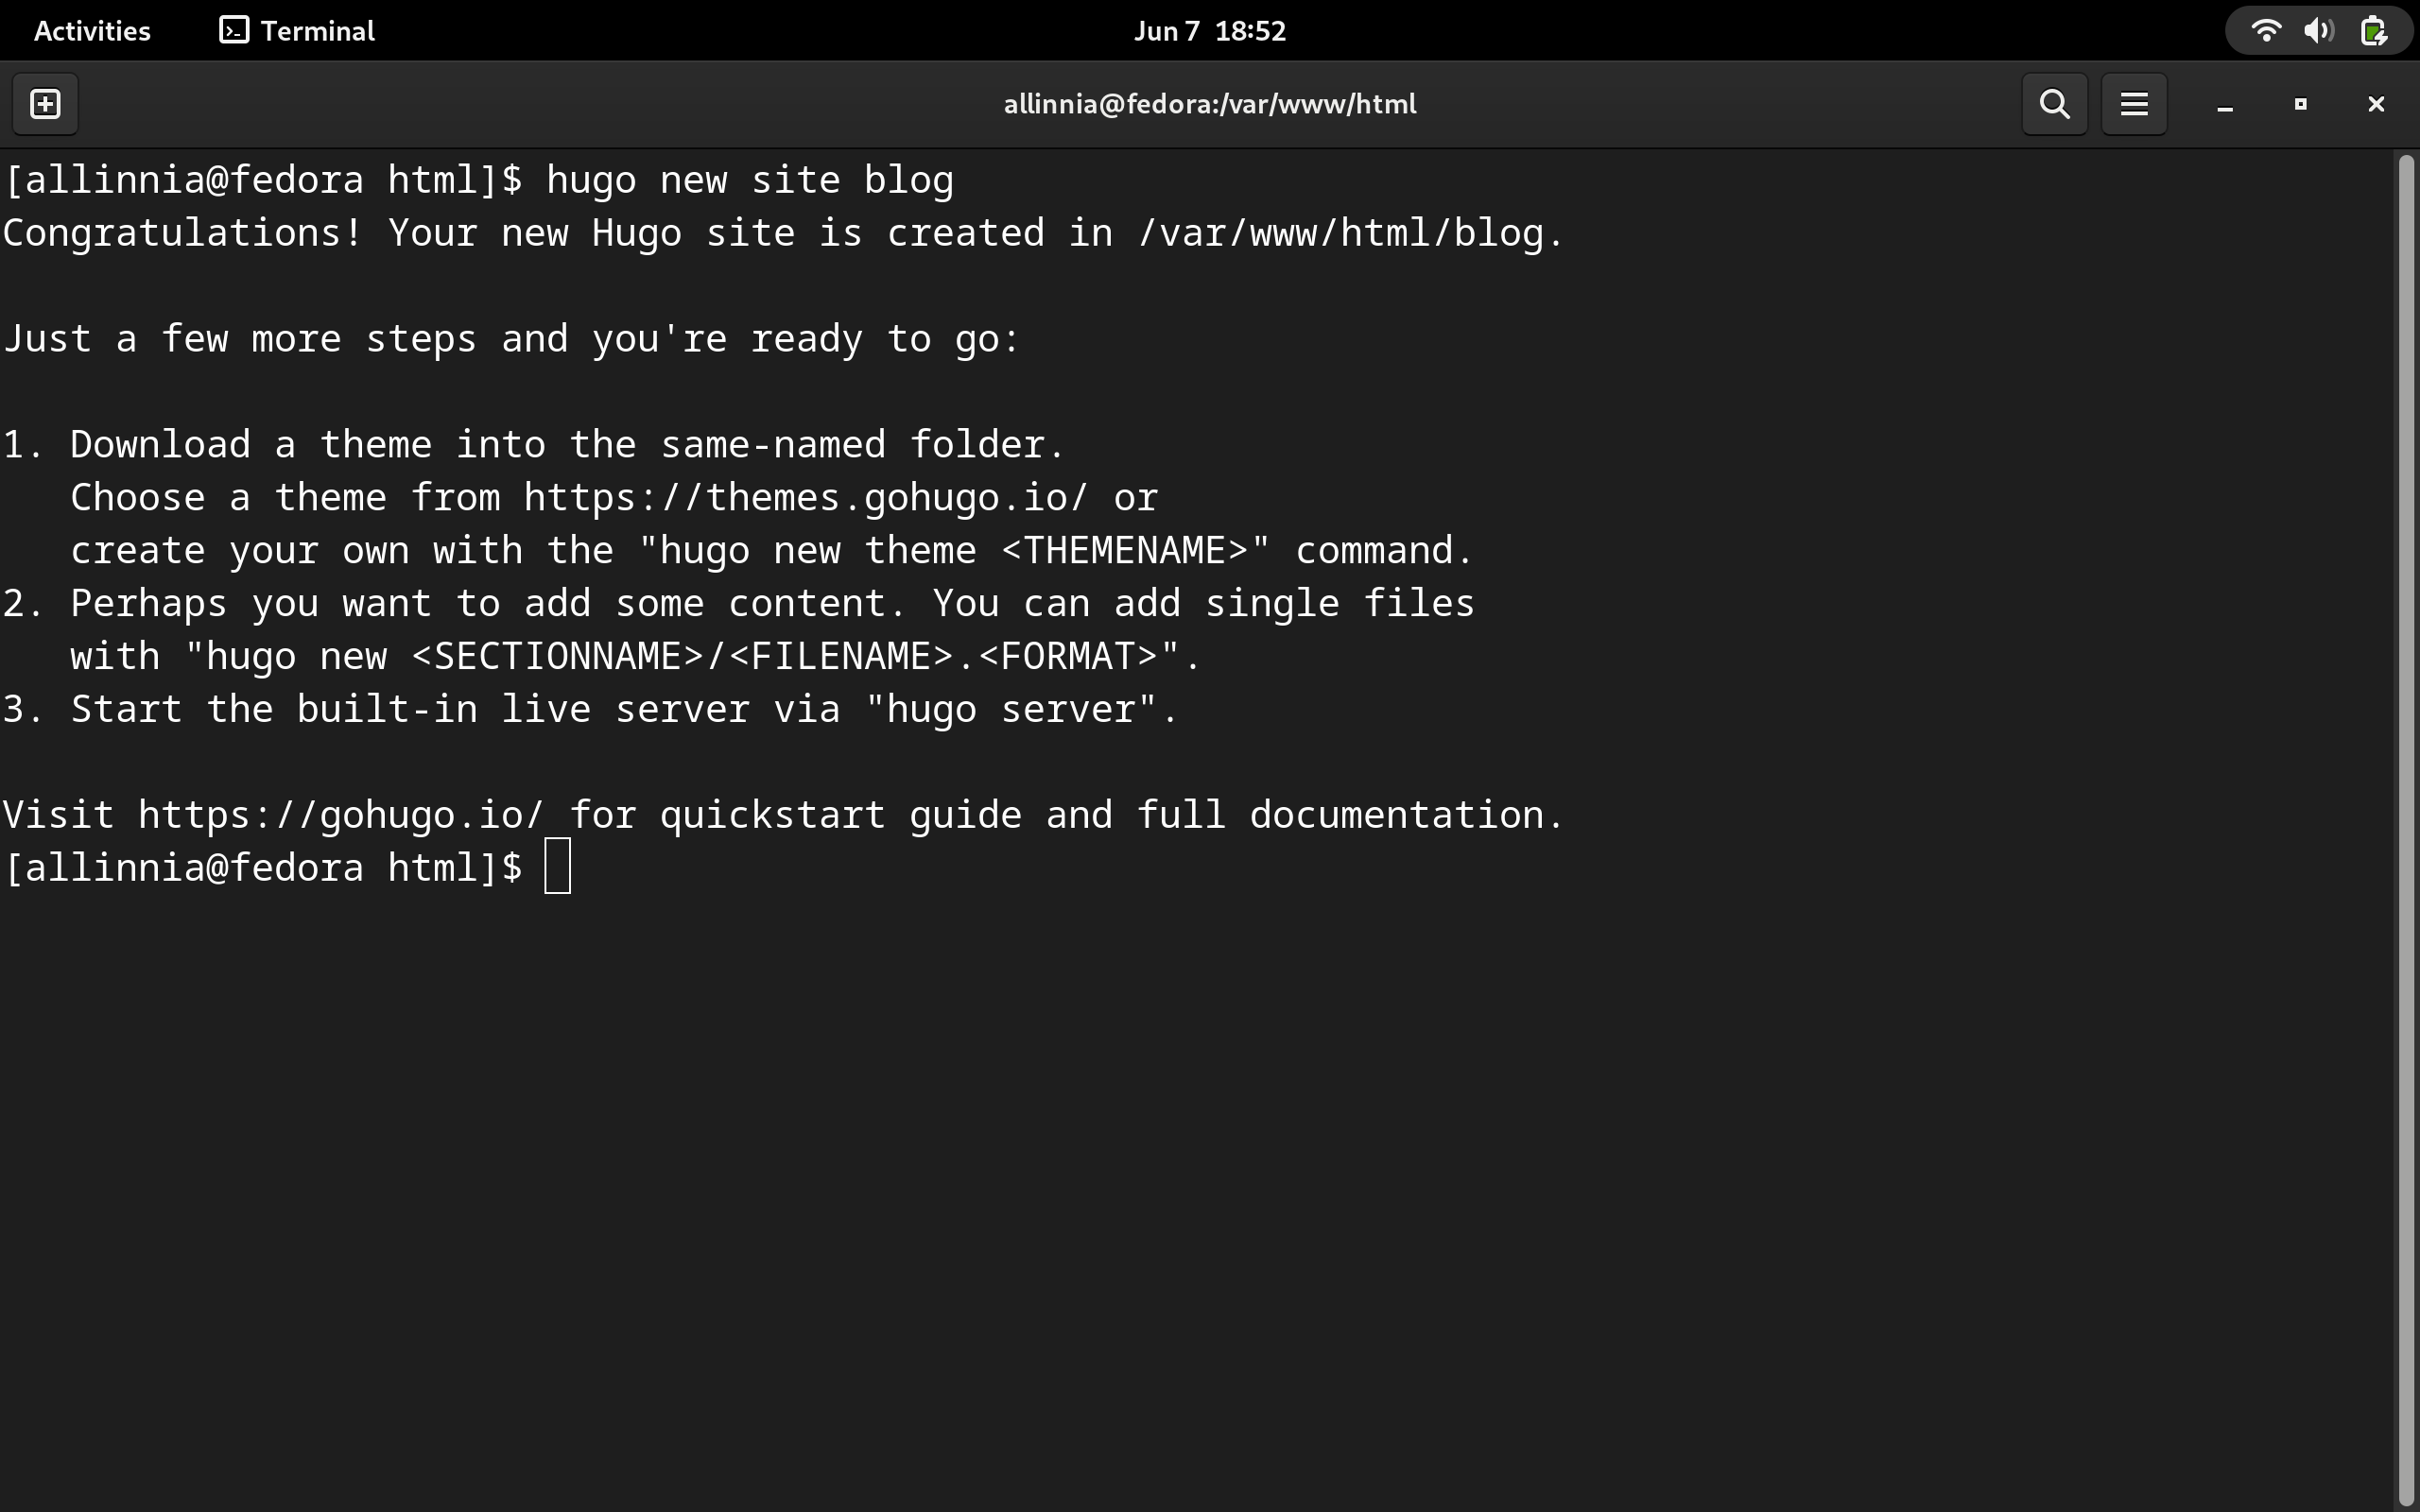
You will actually have to run the second command from within your newly created blog folder. When you do, you will get the message above, telling you to navigate to localhost:1313 to see your new site. If you open up your favorite browser and do so, you’ll be greeted by a blank screen - and that’s because we haven’t actually created any content yet. So Ctrl + C to stop your server and let’s start by looking at the files Hugo created when you created your new blog project.
Familiarizing yourself with Hugo’s site structure
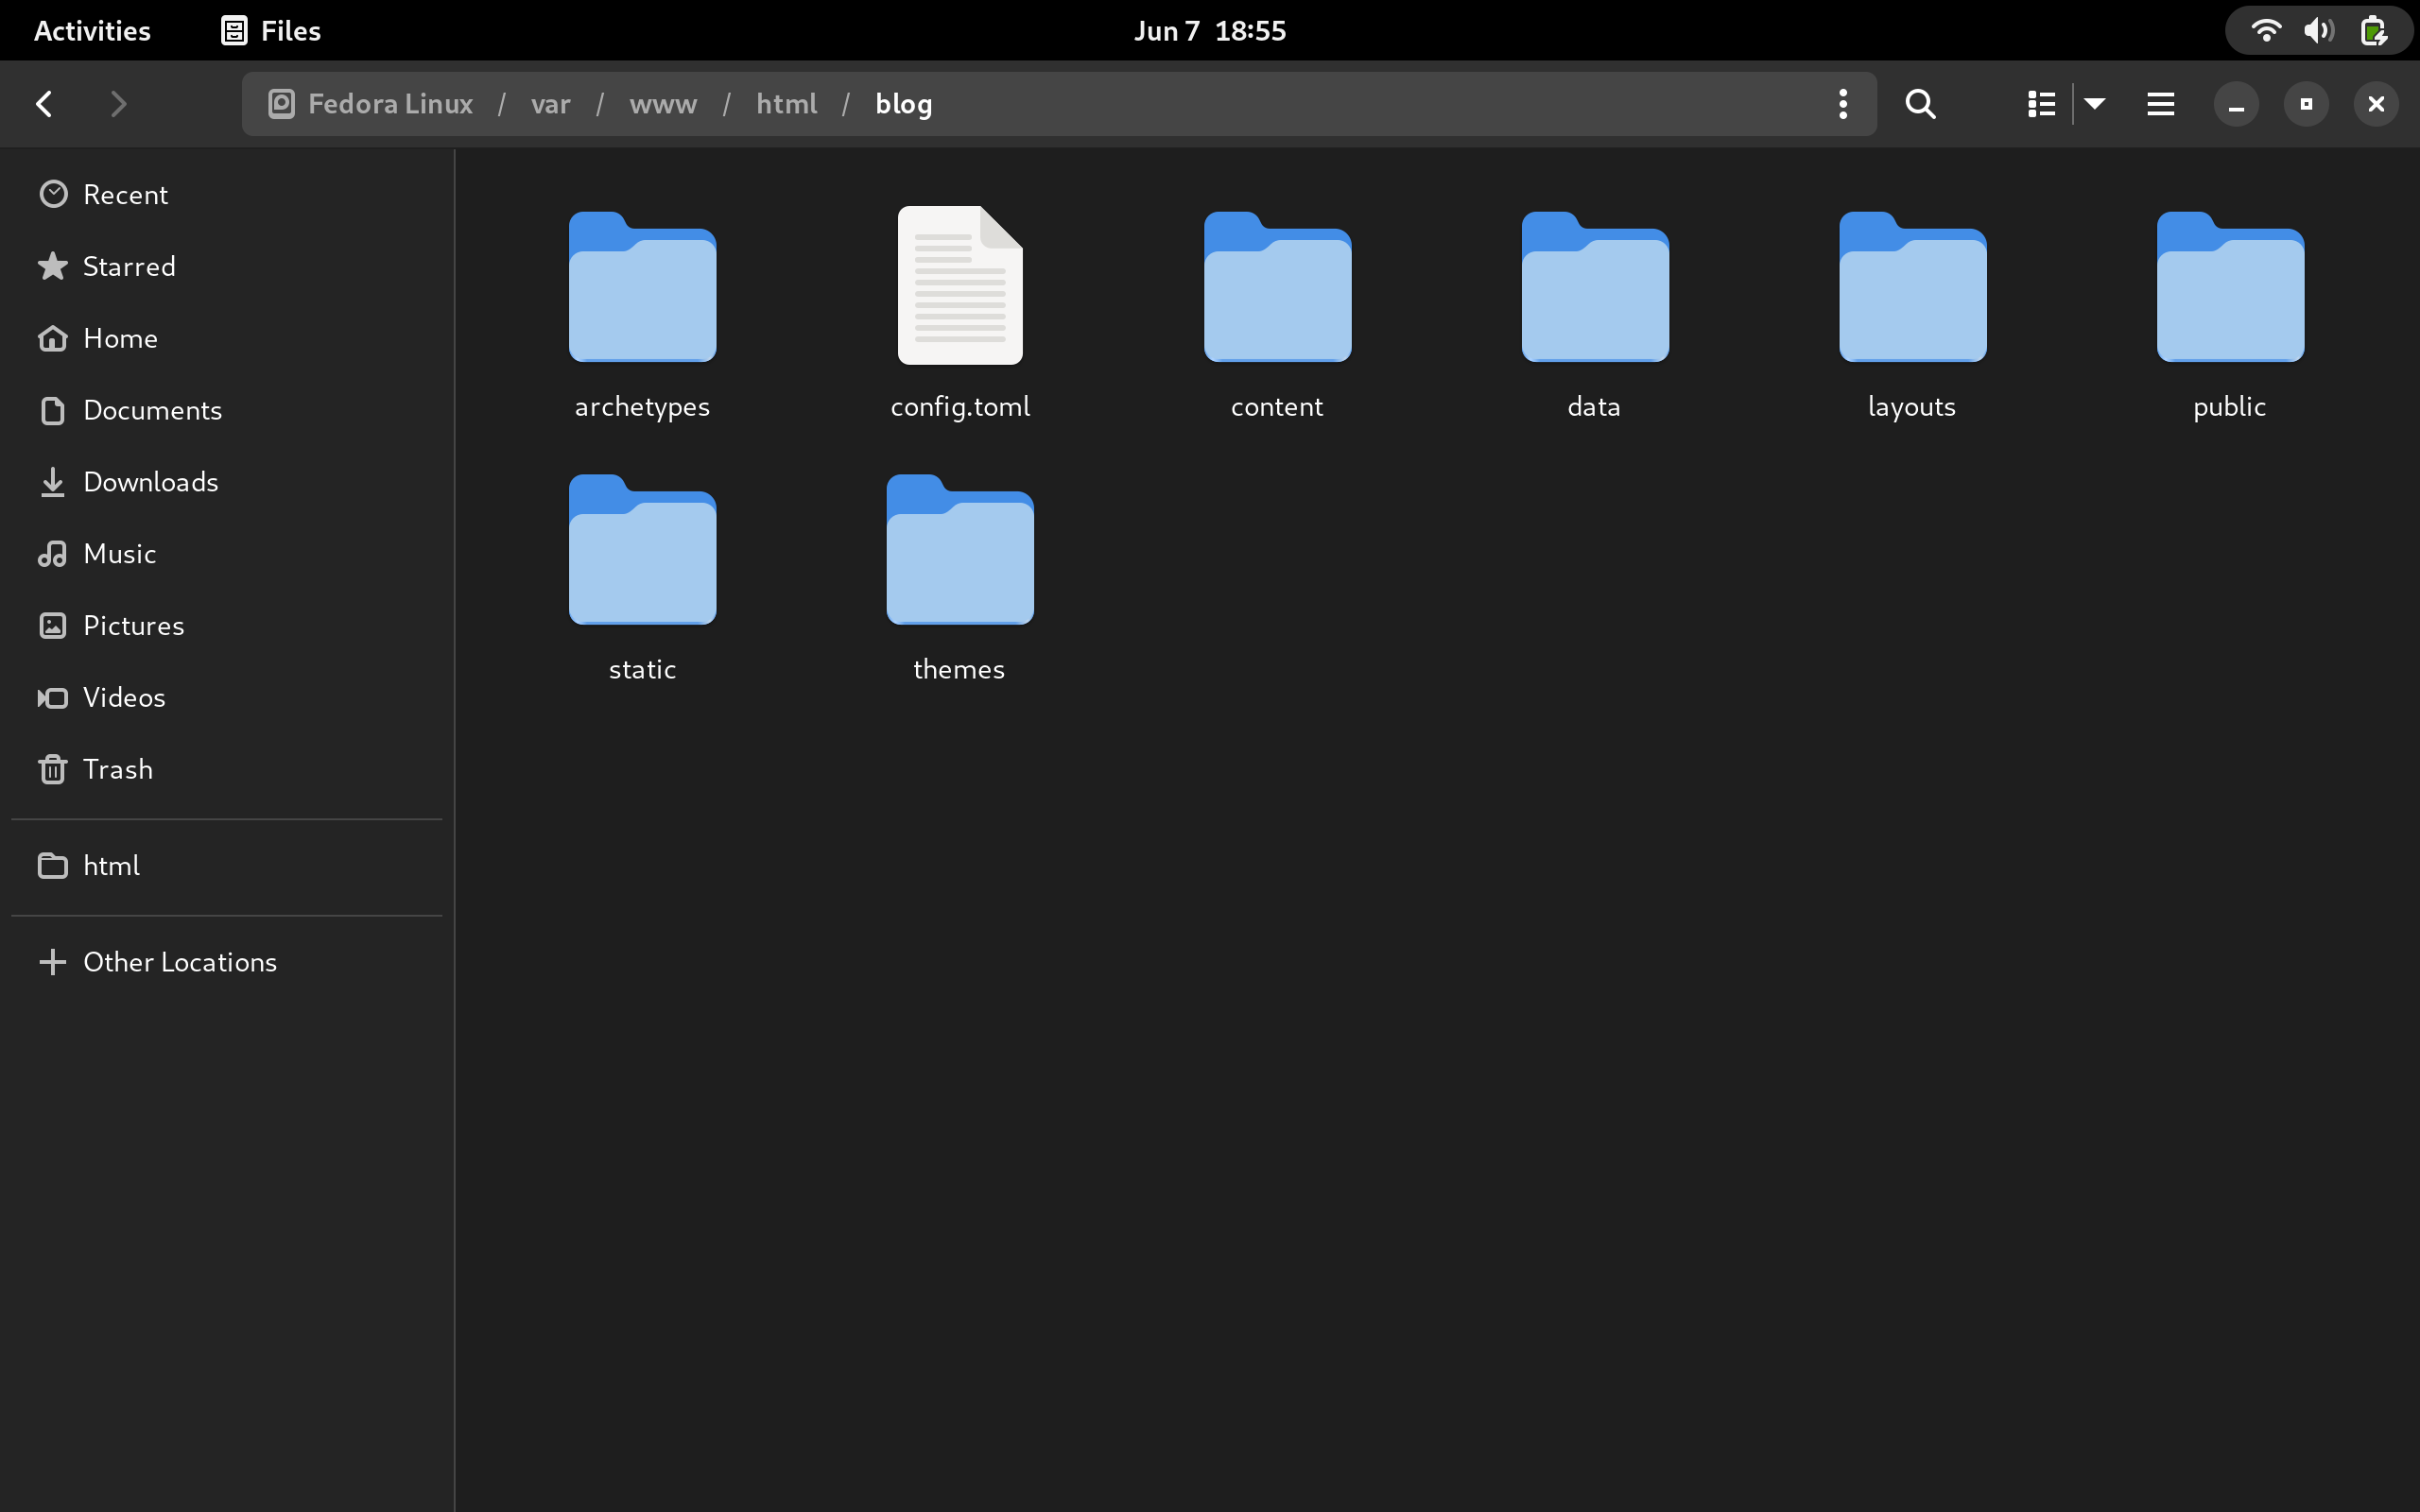
Let’s quickly run through what each of these directories are and how they are used when you actually publish / generate your site.
- archetypes
- Archetype is a fancy way of saying template. Files in here act as content templates for your various different content. You will see a default.md file in there by default. Go ahead and open it up!
---
title: "{{ replace .Name "-" " " | title }}"
date: {{ .Date }}
draft: true
---
Before you freak out, let’s break this down. All content templates are delimited by a meta-data area (called front matter in the Hugo world) where you can define things like the page title, description, keywords, and more. By default, you get the built-in title, date, and draft parameters. As you can probably notice, there is some funky business happening in the title area. This is where the Hugo documentation becomes really useful, but let’s quickly break it down.
When you create new content using the hugo cli, it will determine which archetype (aka template) best fits that content based on a lookup order. If you were to create a new content item as the site is now, it would use this default template and replace the stuff on the inside of the {{ … }} brackets with dynamically generated content. In this case the replace function is being called on the .Name Property of the Page variable/struct (more on that later) and then replacing any hyphens with spaces and then taking the output and putting it in Title case (grammatically speaking) using the pipe ( | ) symbol and the title function. The date is pretty self-explanatory and the draft parameter will determine whether hugo will include this page when you publish your site.
For a complete list of all the cool functions Hugo offers check out this link.
- config.toml
- This is your master site configuration. By default, there isn’t a lot in there, but we will circle back around to that later.
- content
- This the directory all the content is placed into. You don’t put it in there manually though! No, you should use the CLI to create content
- data
- This is where any dynamic stuff should go before a recompile. Think of it as a directory for all the stuff that might need to change site wide i.e. version numbers, active sales etc.
- layouts
- This is where all the HTML templates will live. By default, it is empty, but you will be using it quite a bit as you get started.
- public
- When you run the “hugo” command by itself, it will build your site as is and place everything you need to put on your web server in here. I’ll be giving you a cool little deployment script at the end of this article to make you really see how awesome this is.
- static
- This is where all your assets live. Everything that is in this folder will literally be copied into the root level directory of your public folder (to include directories) - so crazy with images, favicons, css, and all the cool stuff.
- themes
- Themes are a built-in way of switching out how your site looks. I will cover an example, but to get you going, I’ll be covering this more in detail in another article.
And that’s it! We got through the directories, so now let’s add some actual content to see how everything works!
Adding our first post
To actually create some content let’s start by creating a basic index.html template in our layouts folder. I’ve made a really simple one as shown here (all rights reserved - lol - JK use it all you want!):
<!DOCTYPE html>
<html>
<head>
  <title>My Hugo Blog</title>
  <meta name="description" content="Something cool eventually be here..."/>
  <style>
  body {
    background: limegreen;
    color: purple;
  }
  h1 {
    font-size: 64px;
  }
  p {
    font-size: 28px;
  }
  </style>
</head>

<body>

  <h1>Welcome to my blog</h1>
  <p>I worked really hard on this and it looks awesome!</p>

</body>
</html>
Resulting in this lovely-ness…
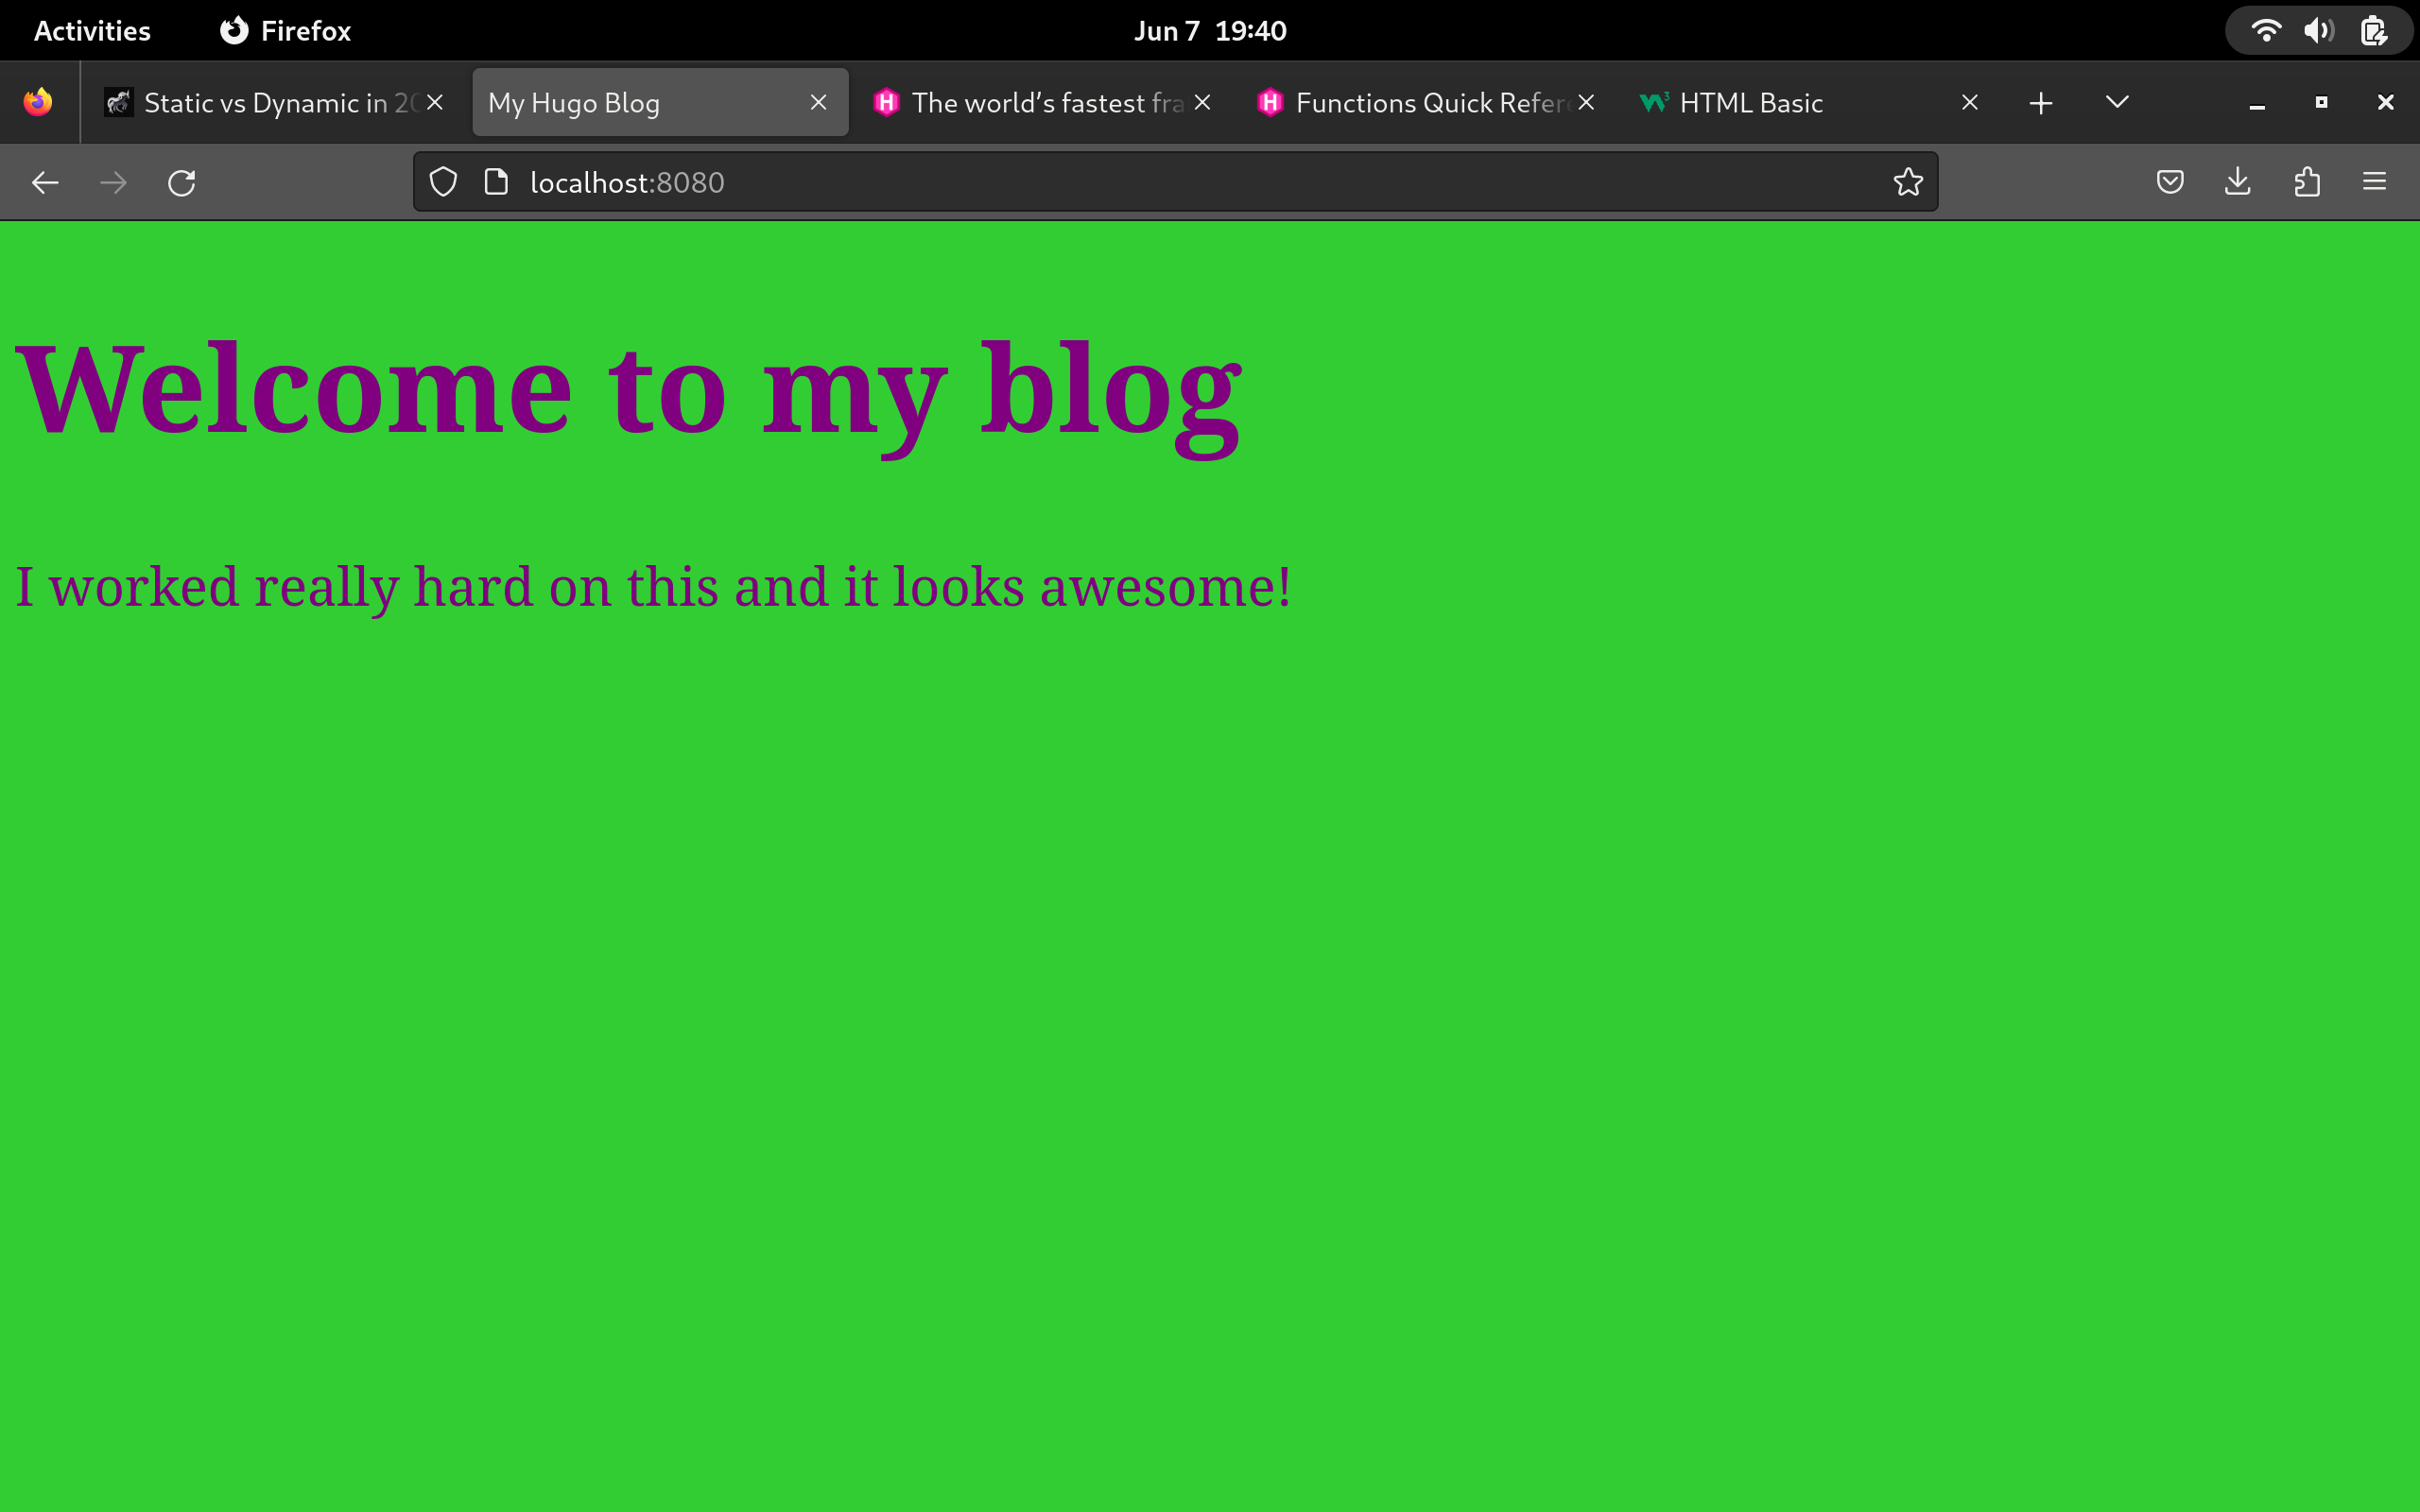
For those observant people wondering why the port is :8080 - it’s because I am running two instances of hugo as I type this and each are on their own port. Also, I’m lazy and copied over the HTML…
When you visit your site, you should see the index.html page you created or copied. Now that we have a layout file, let’s create some content. It’s important to mention at this point that Hugo organizes all top level content files as actual top level pages. So, to illustrate this I am going to do a little setup:
hugo new about-me.md
hugo new contact.md
hugo new posts/my-first-post.md
Just ride a long with me … this setup will make sense in a minute. Let’s first talk about the command I used and why I added .md to the end of the filename. When you create new content on your site it will automatically put that content into your content folder. So after you ran the above commands, you should now see an about-me.md and contact.md in the top level folder and a directory called posts with my-first-post.md in it. I’ve display a listing of all relevant directories below.
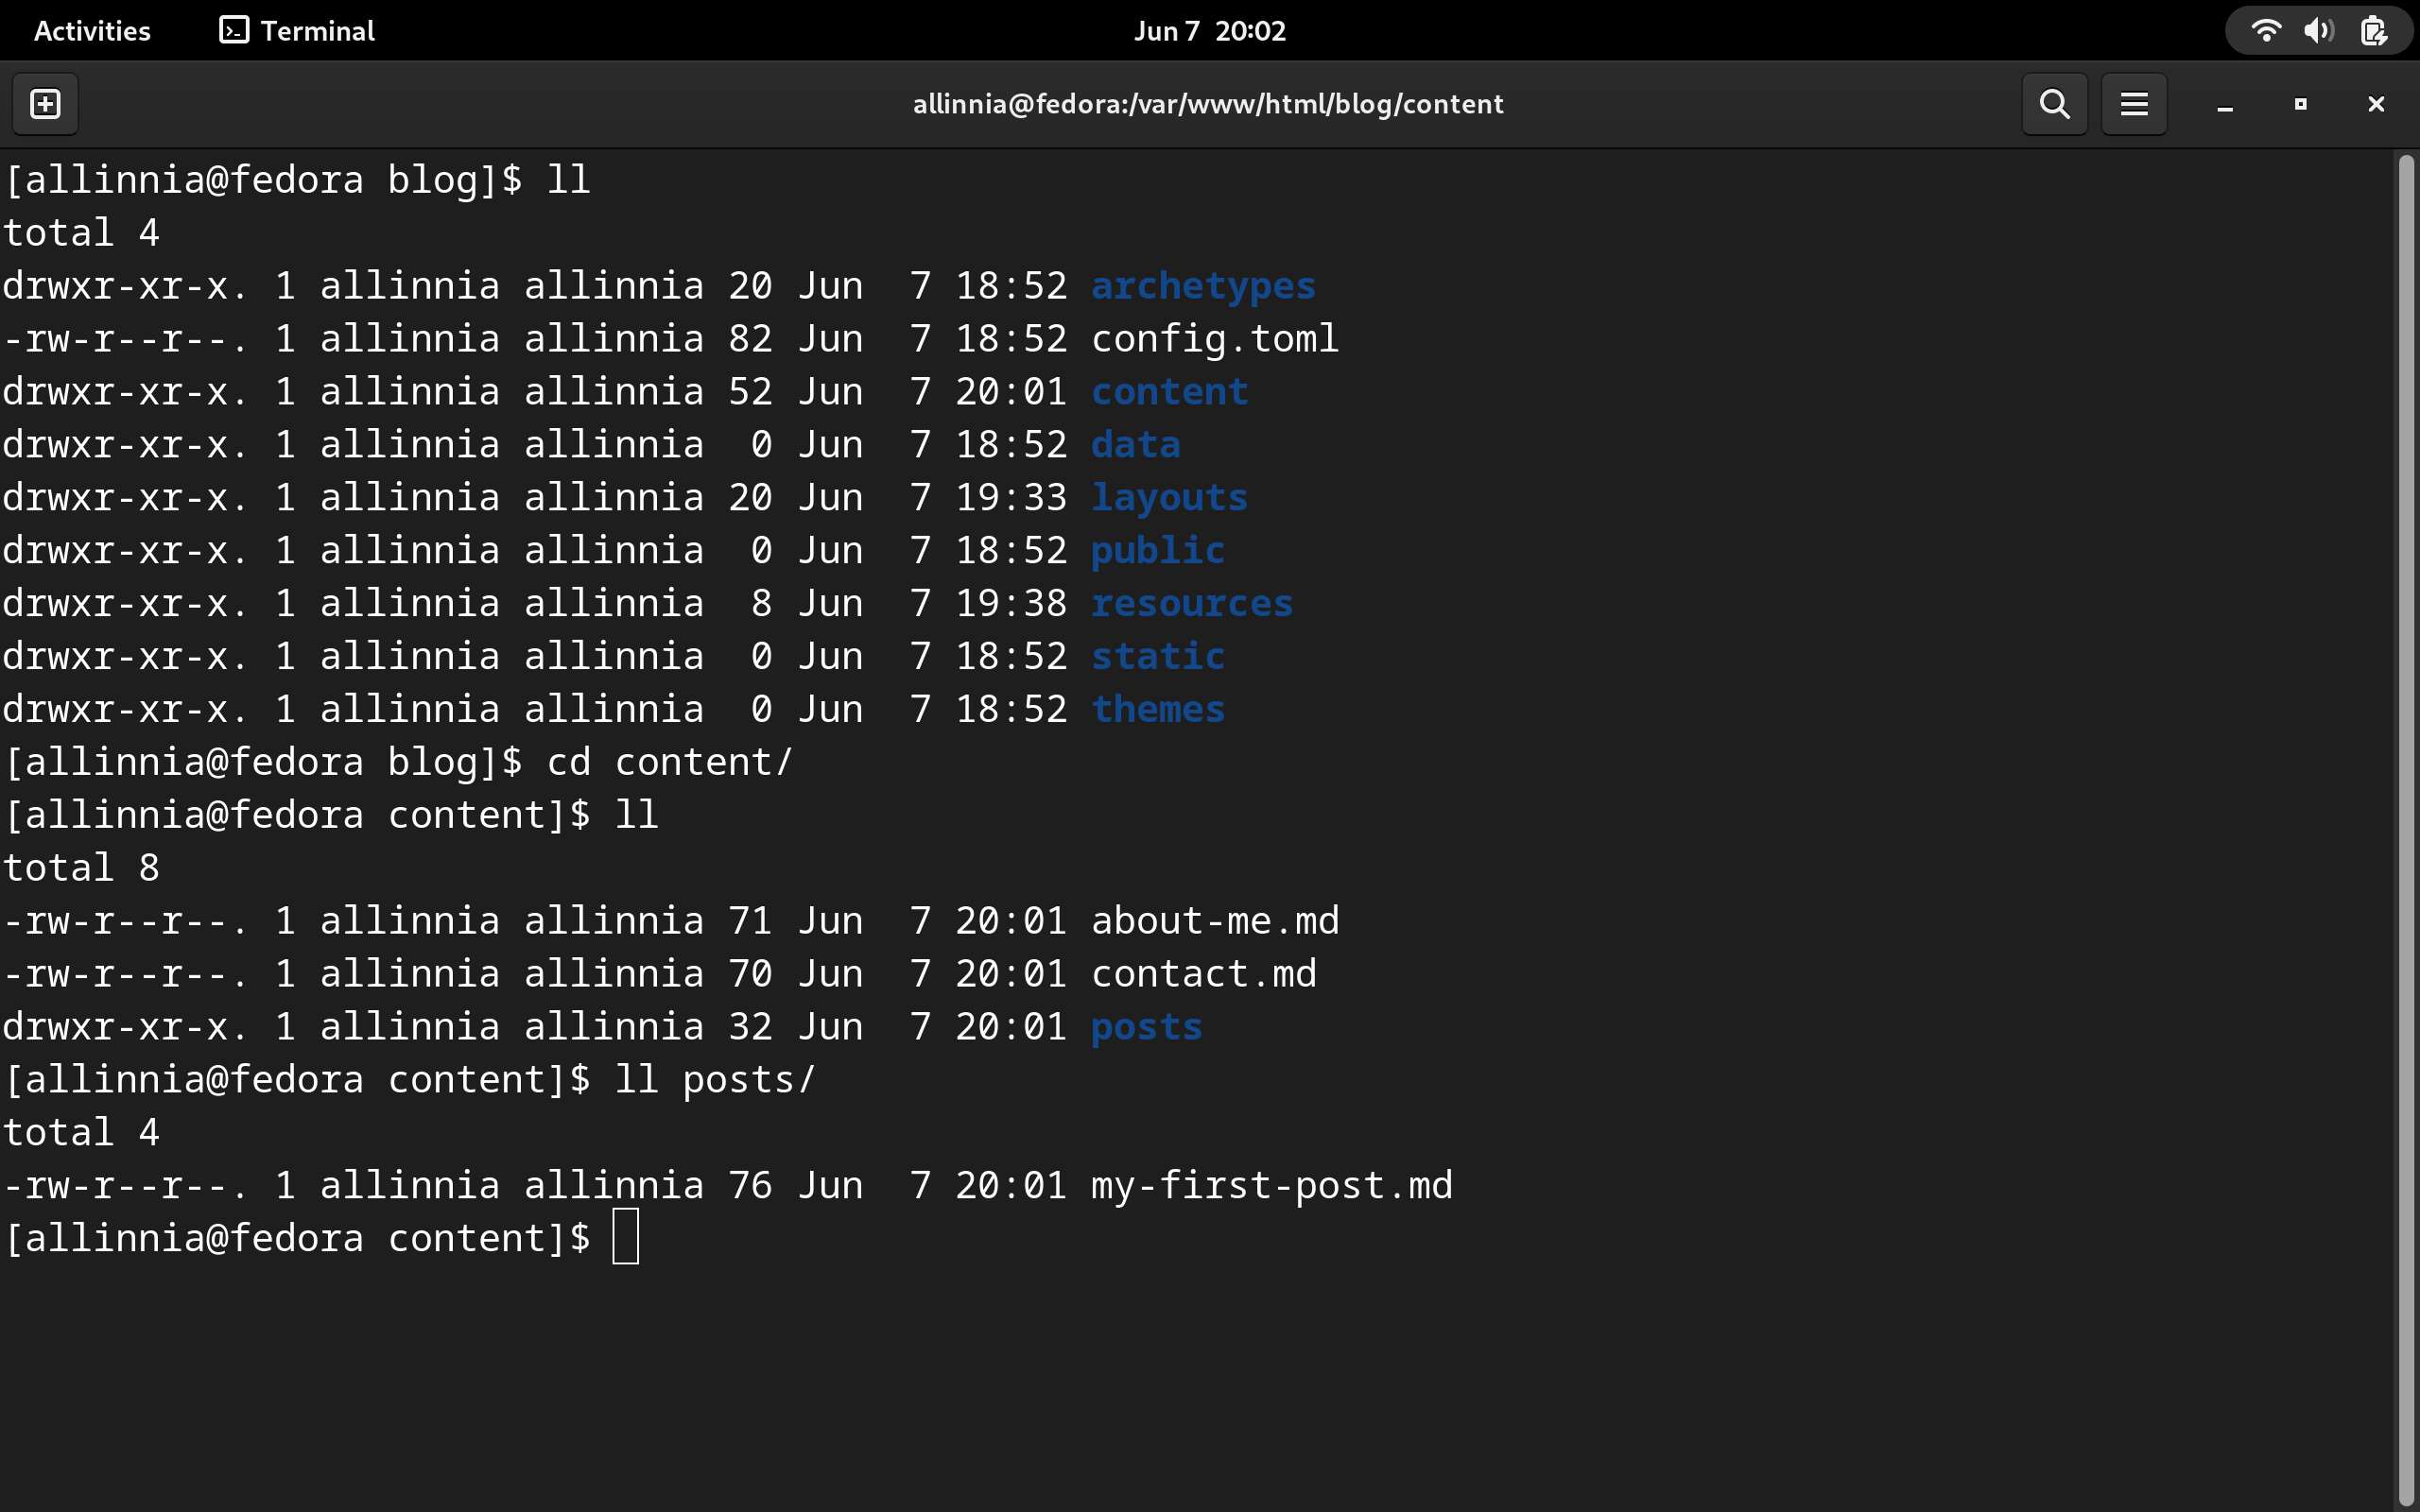
Once we confirm that we have the content we expect, let’s take a look inside the about-me.md file.
---
title: "About Me"
date: 2023-06-07T20:01:21+02:00
draft: true
---
As you can see Hugo automatically applied your default archetype and processed all the front matter (aka meta data) into it’s final form. From here, we can start adding our markdown. For this example, I’ll just make a quick blurb with my name and some lorem gibberish:
---
title: "About Me"
date: 2023-06-07T20:01:21+02:00
draft: true
---

# Hello, my name is Travis

This is my blog and I love Hugo
If we save the file and fire up our server to take a look by navigating to http://localhost:1313/about-me we’re greeted by an ugly 404 page. What’s up with that? Well, this is where the complexities of layouts and lookup orders comes in. Suffice it to say, if you briefly look at your running server output, you probably see output that looks a lot like below:
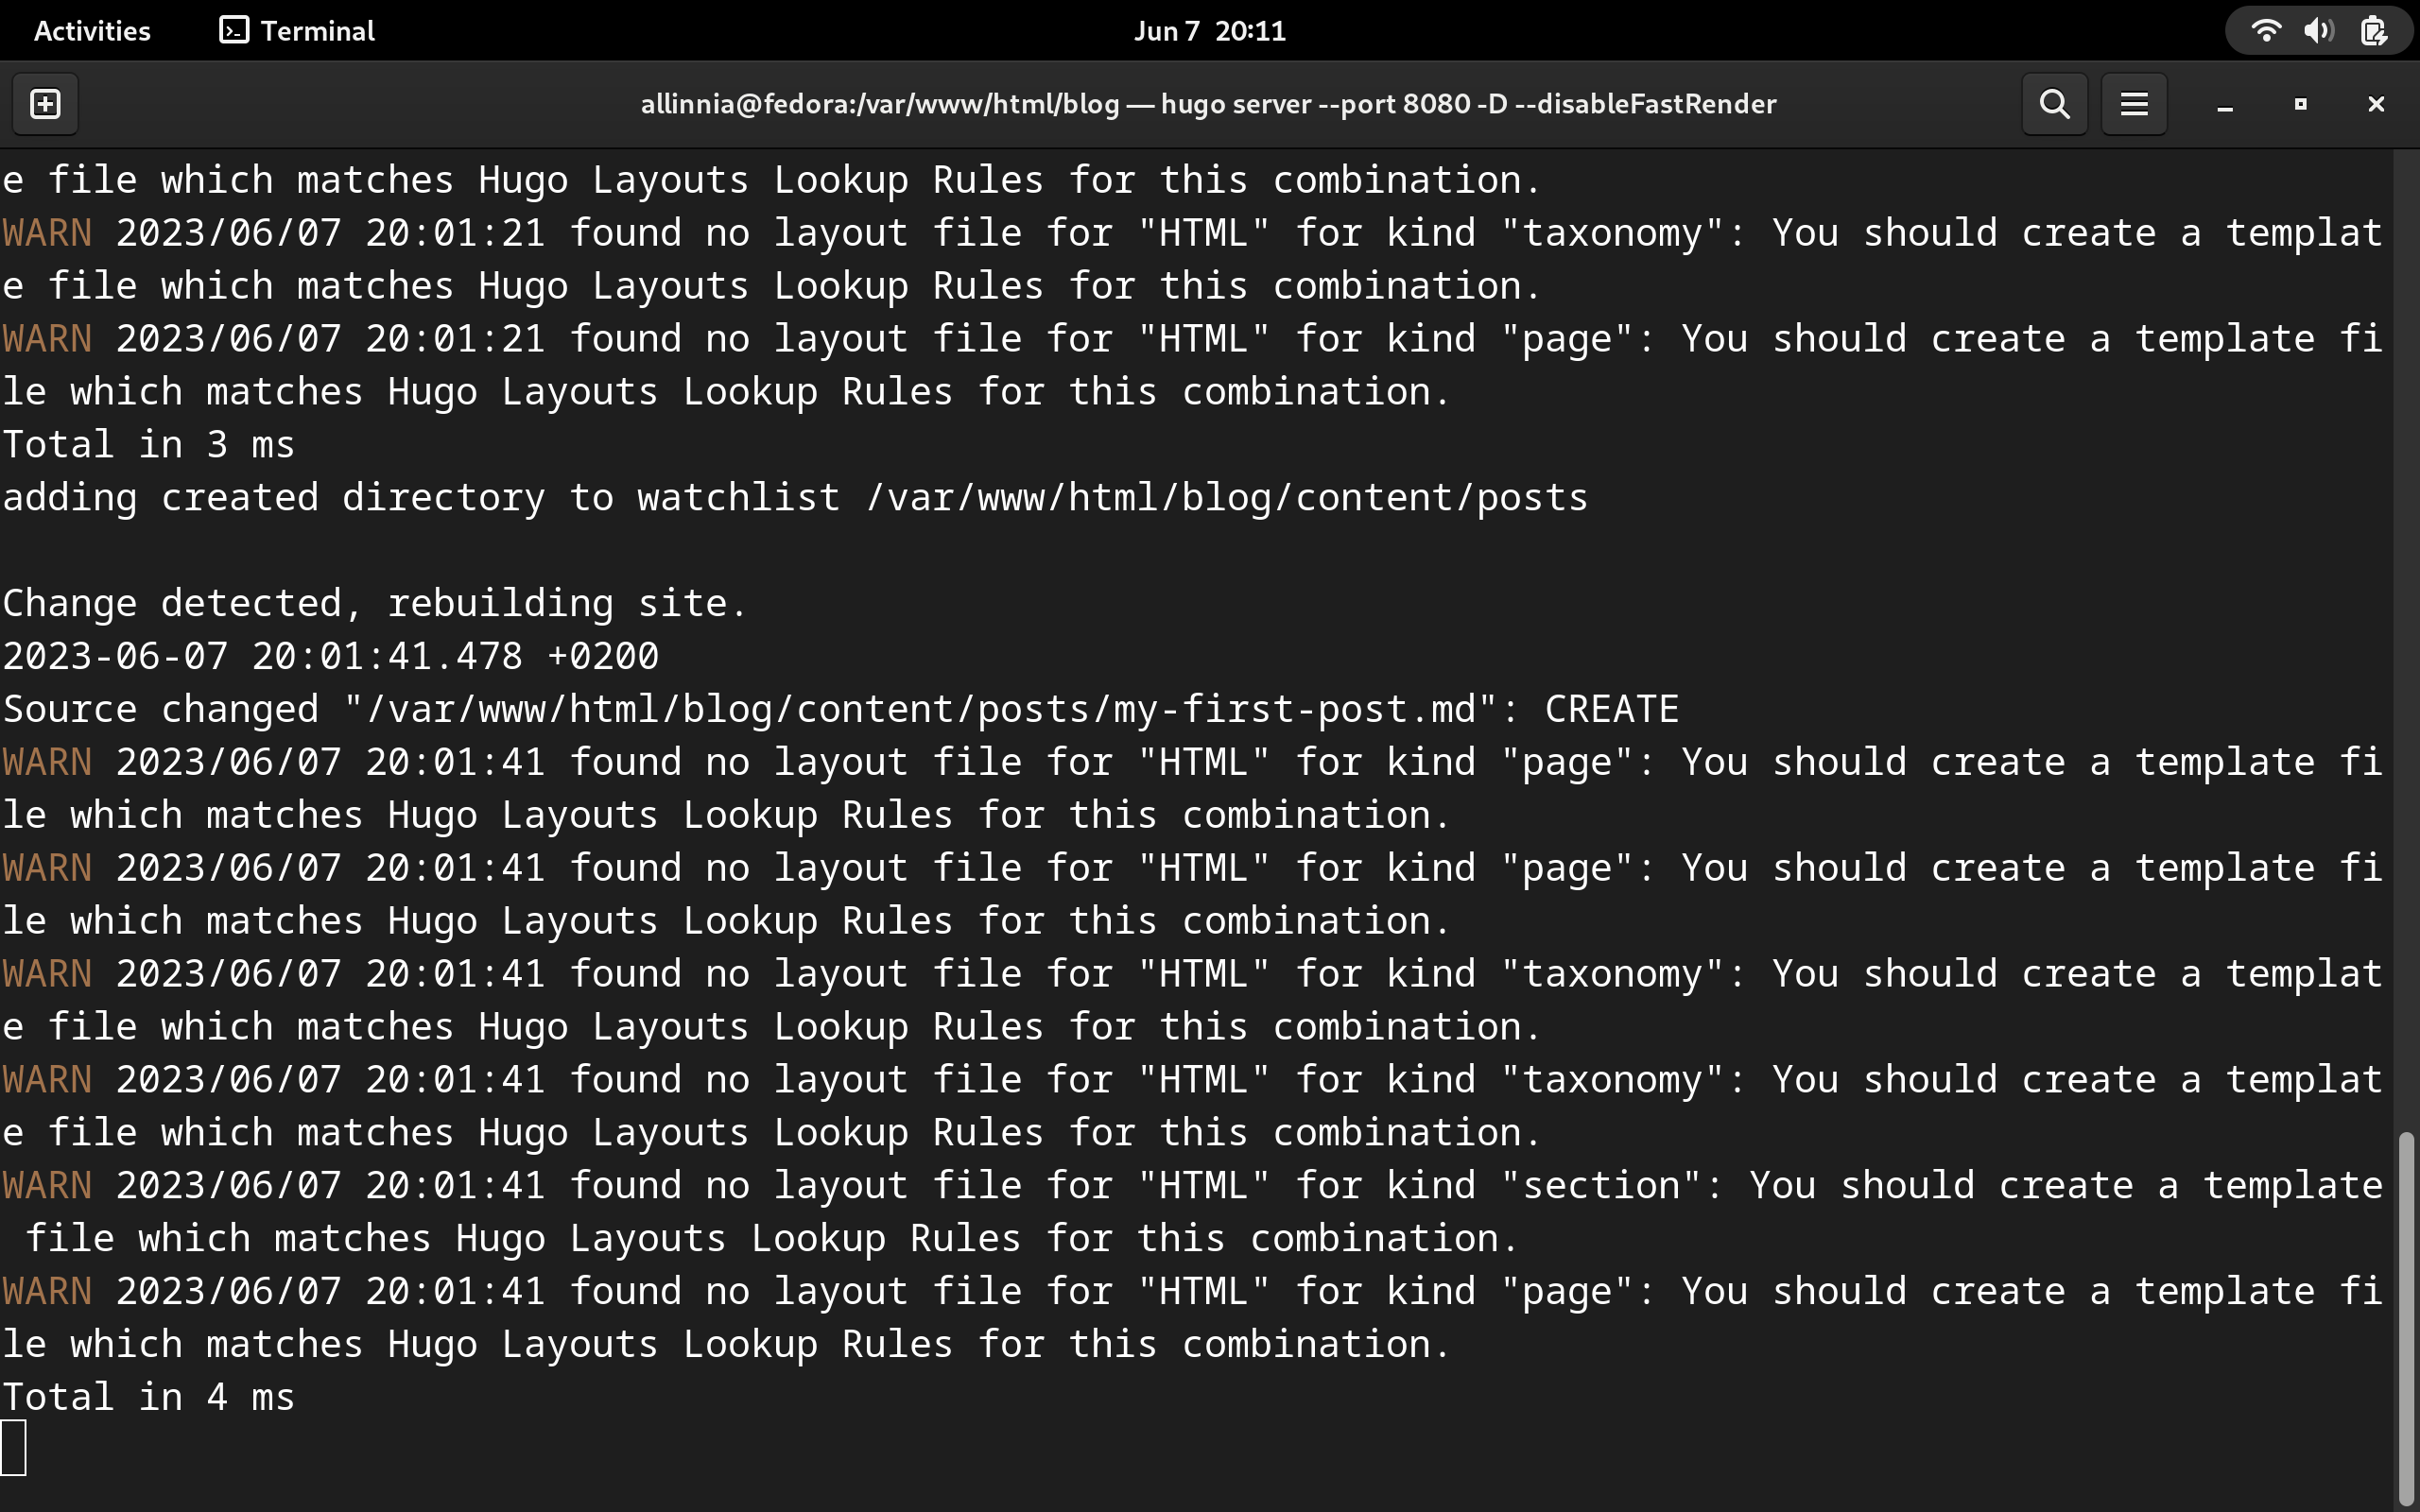
This drove be nuts when I started using Hugo, and it still does sometimes. So, I’m going to make all the taxonomy stuff as simple as I can, because it can, and will, get complicated quickly (another reason we’re steering clear of themes right now). To sum it up, we need to create a special directory in our layouts folder named: _default. In here, we need to create two html templates:
- single.html
- list.html
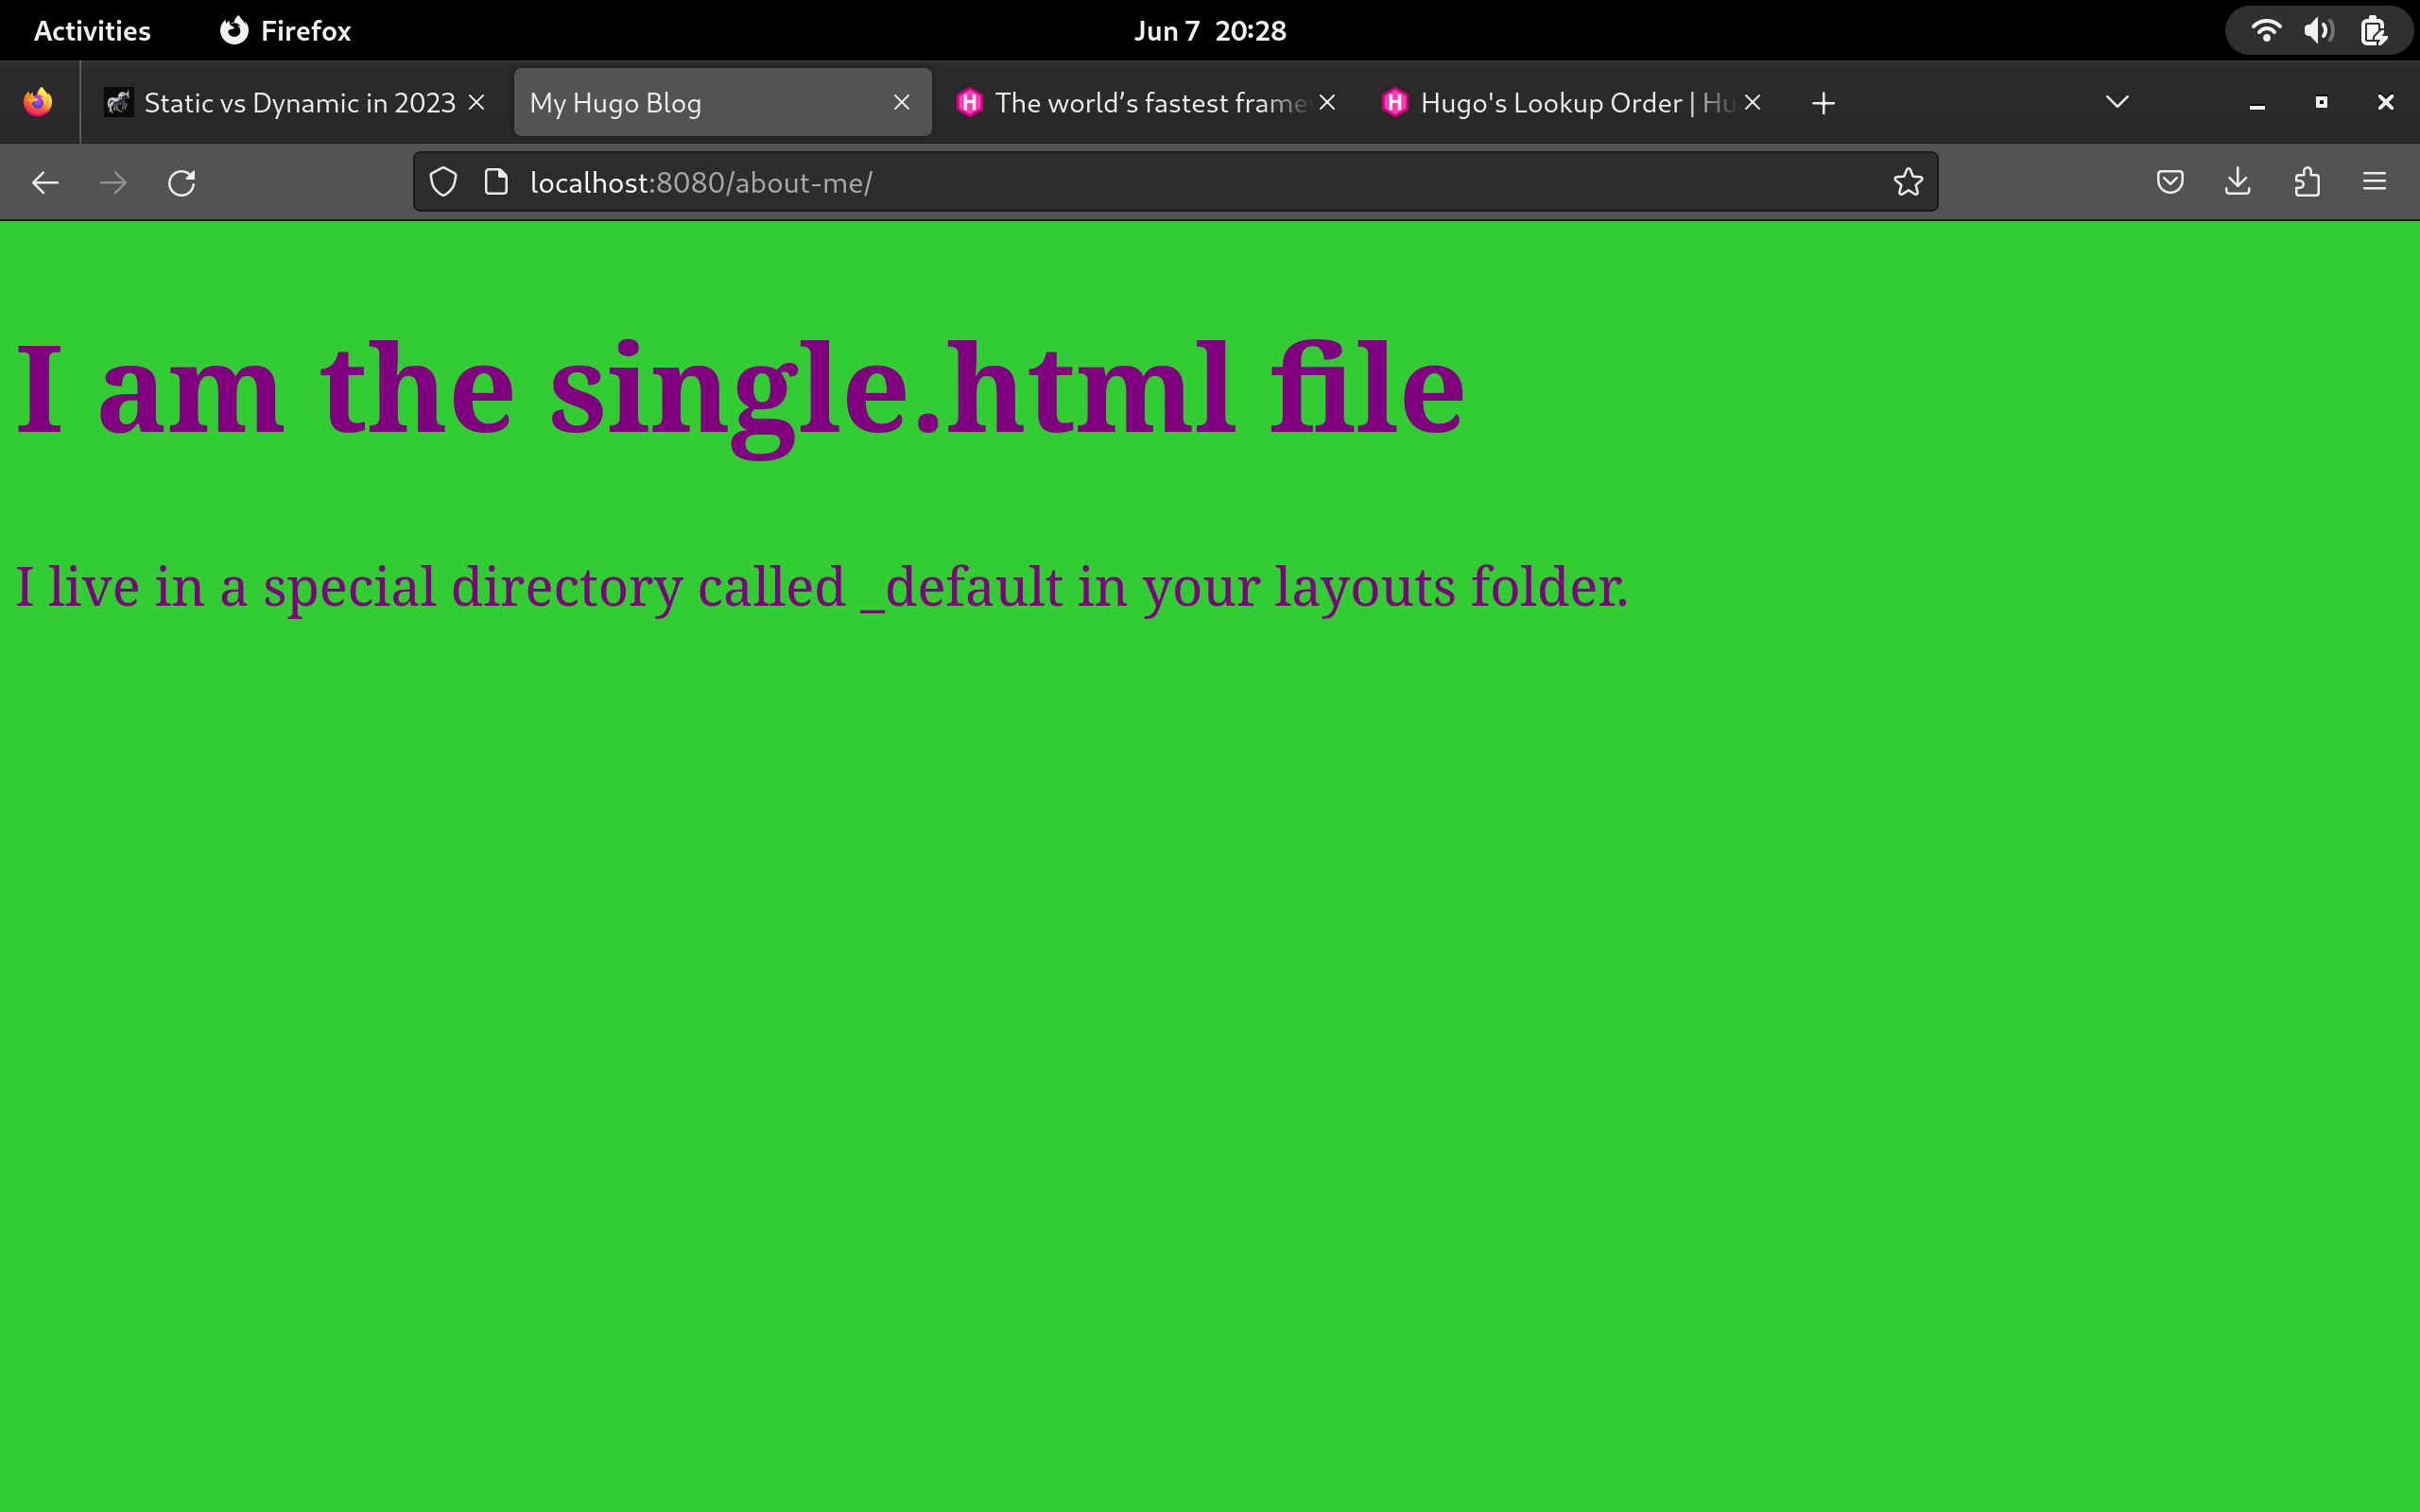
As you might have guessed, these apply to some top level website paradigms. You have certain pages which act as lists of other content types, and then you have the end point i.e. the single page. In our case, thanks to Hugo’s look up order, the about-me page is of kind “Page” which then starts looking for a layout file of the same name i.e. about-me.html or ultimately the single.html template in your _default folder. There’s obviously more to the lookup order than that, but let’s keep it simple for now. Once you’ve copied over your index page into these new files, make sure to edit the content so that you can see when each one is actually getting called. Here’s what I see now that I’ve modified mine:
Ok, cool! So, where does the list template come into play? Well, lets try going to /posts and see what happens. If you were following along and made your content in your list.html file stand out you should see it showing. Here’s mine:
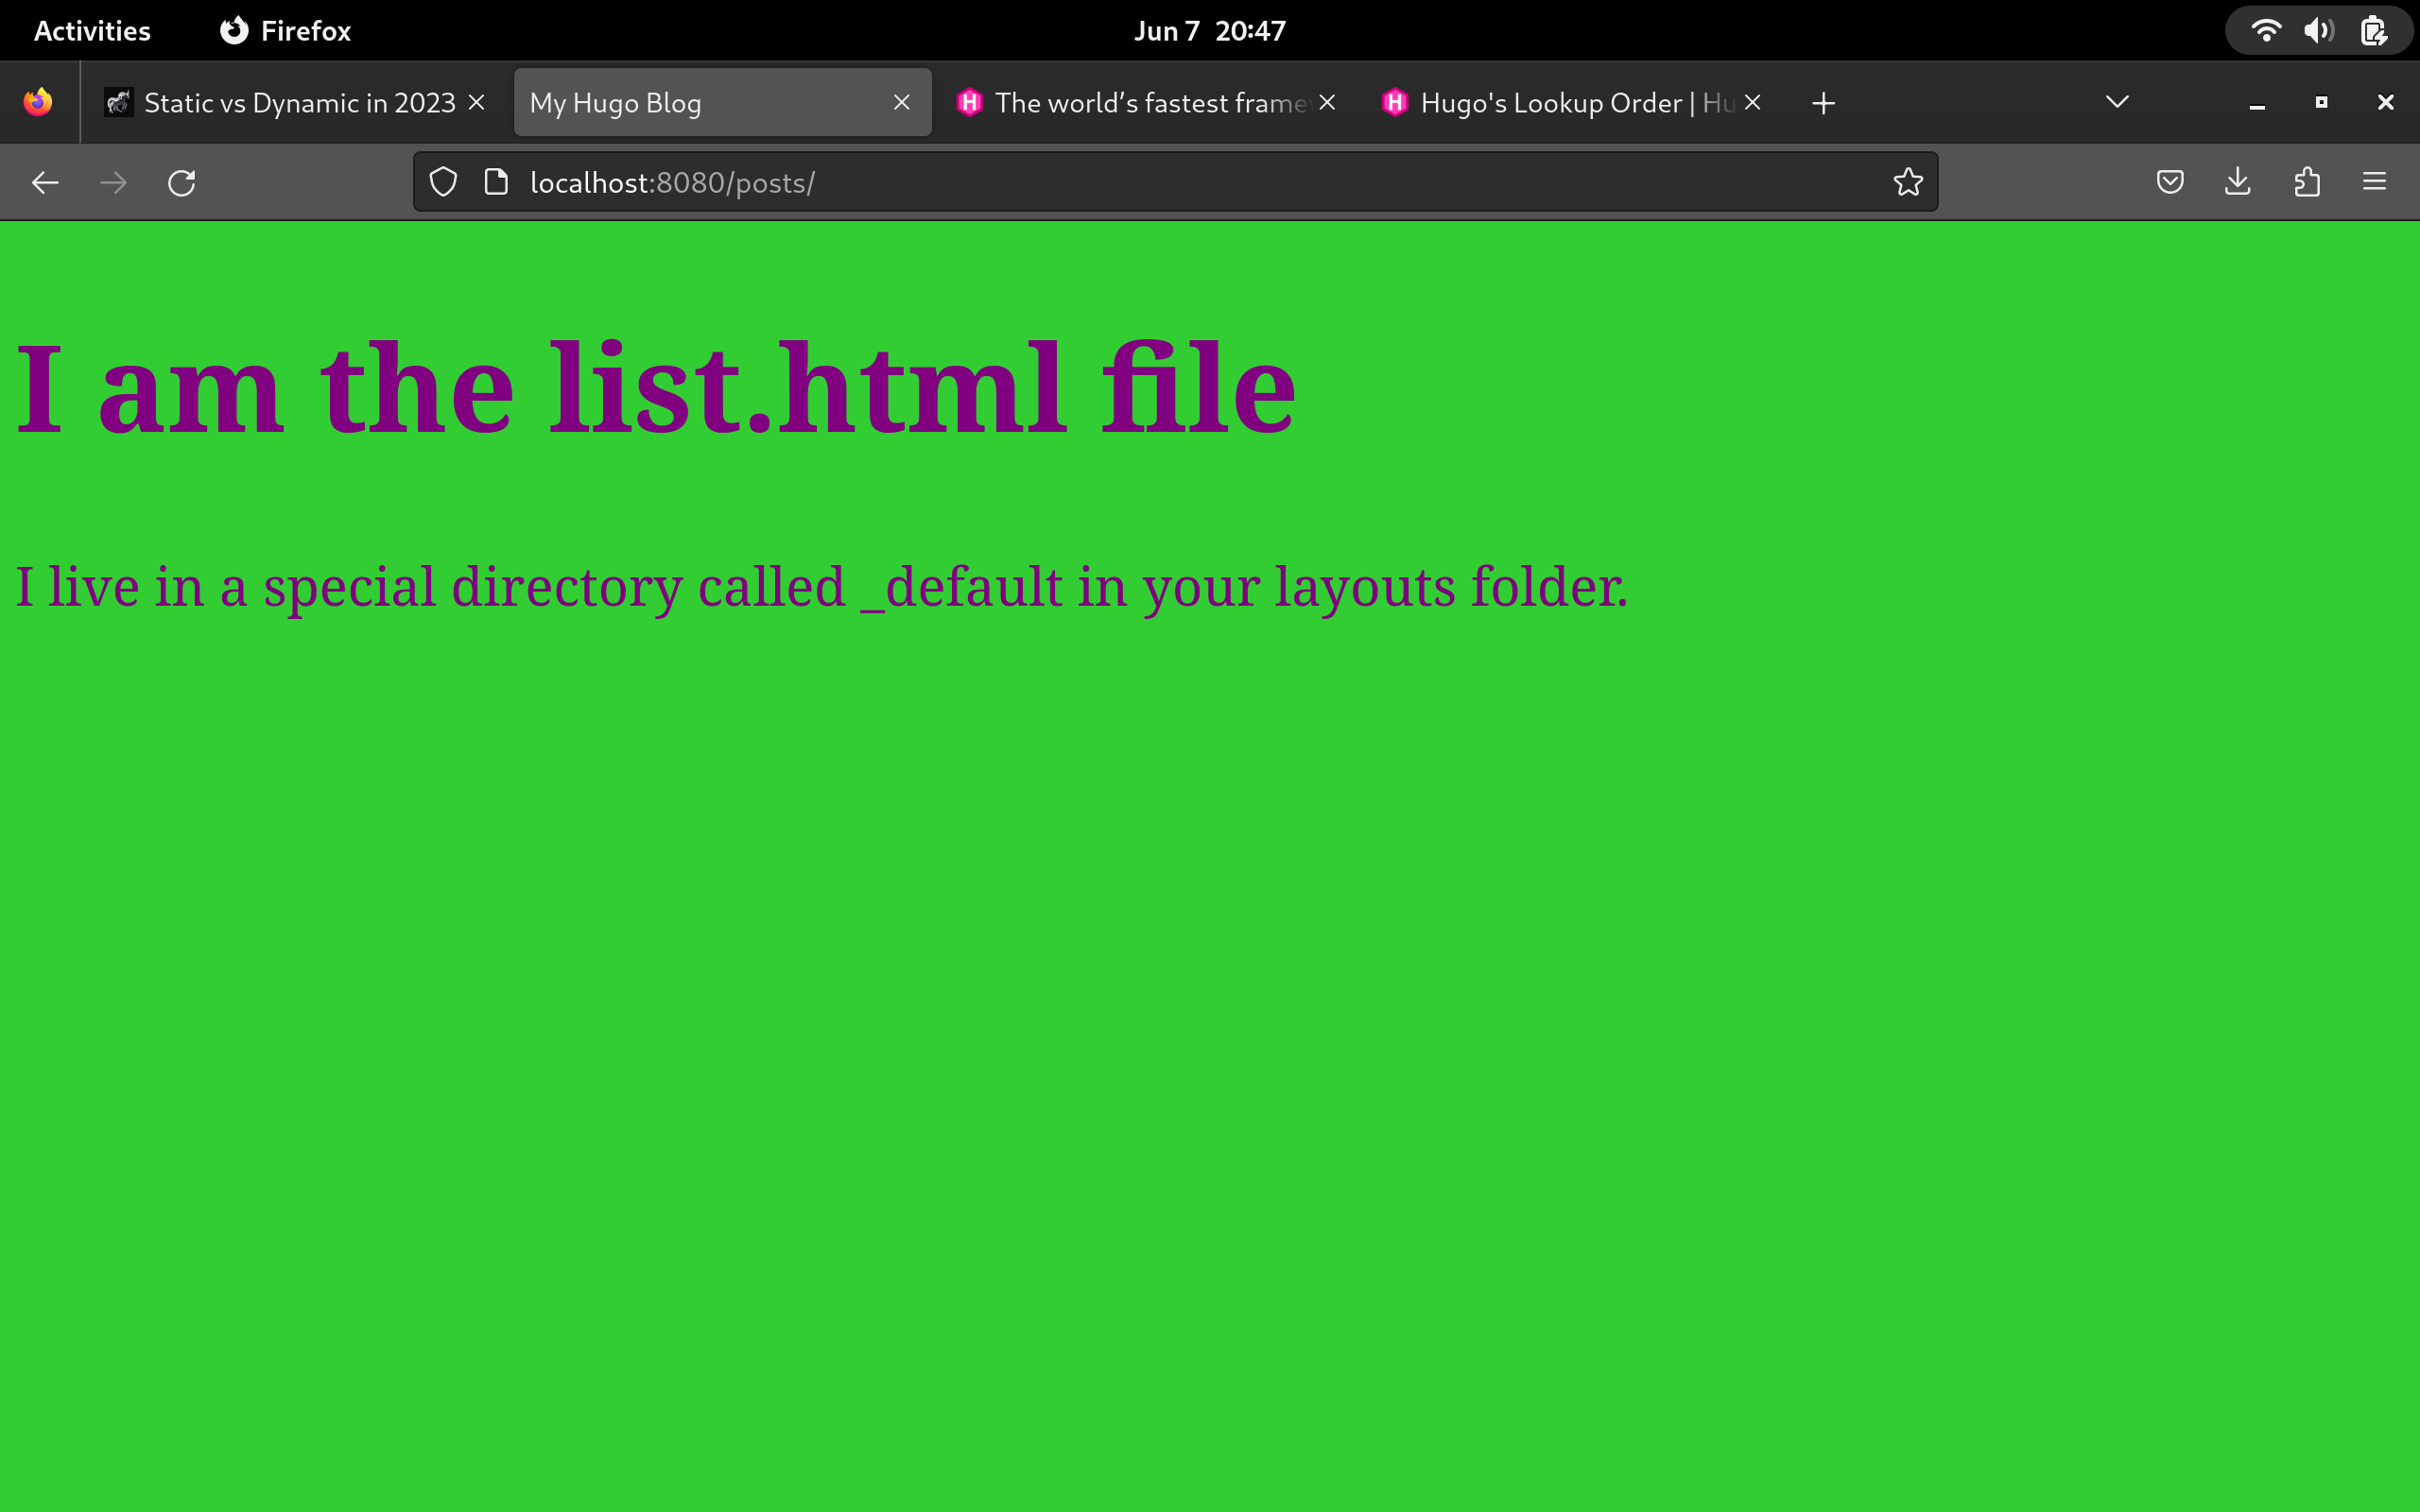
Pretty neat right! This is only the beginning of you Hugo templating journey. What we now should see is that our top level pages are both showing the single page template along with our one post, but our top level posts url is now showing the list template. This understanding will really go a long way as you flesh out your various content types and learn all the unique overrides that Hugo allows. Obviously, we will want more flexibility in how things are displayed, so let’s override our posts url to use a unique layout file that we want for that listing. Create a new directory in layouts called posts (same name) and inside it create a new html file called list.html. Make sure if you’re copying the previous template you update the content to make sure you are seeing what you should actually be seeing. I changed mine a lot - it’s way cooler now:
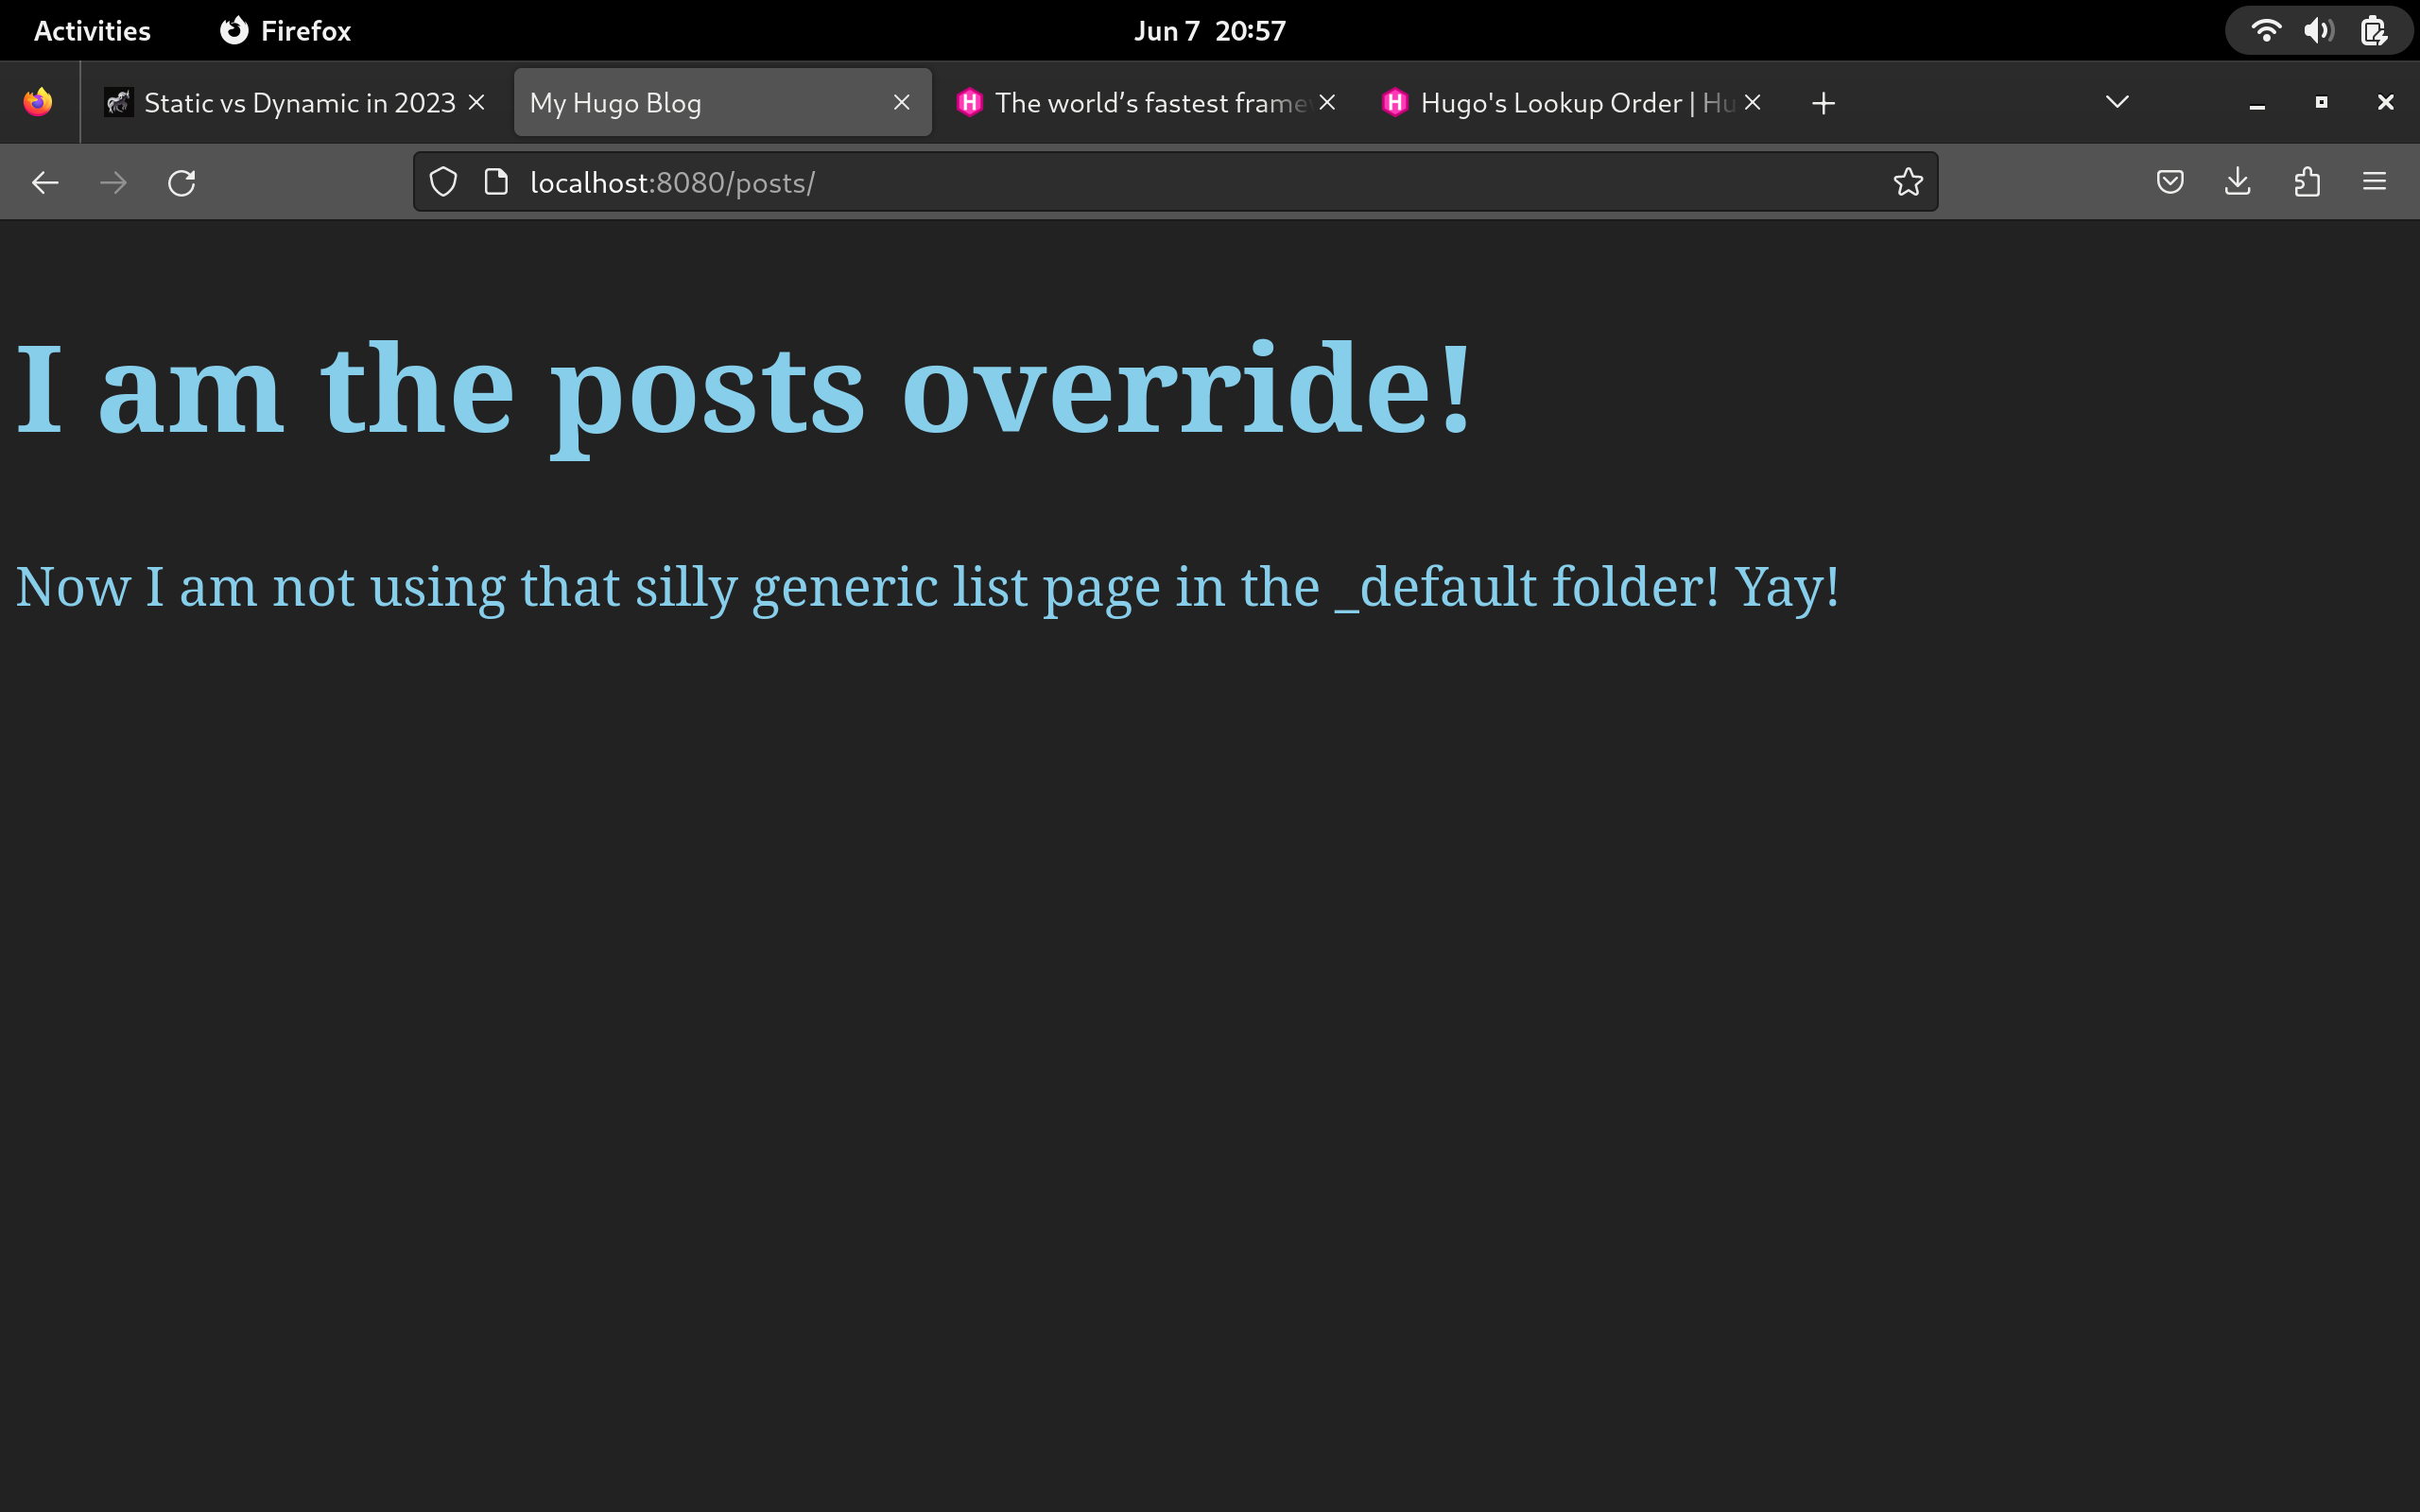
This one is a little bit easier on the eyes…not much though. So that’s pretty easy right? I am sure you’re probably starting to put the pieces together in your head already that you can also create a single.html in here to override individual post entries.
The last thing we need to do is give our about page a proper template, but how do we do it? It’s a top level page with no folder. You could probably guess and be right: just create the about-me.html template in your layouts folder. Go ahead and give it a shot.
What? That didn’t work? Well, that’s dumb - yes, yes it is. Going back to what I said earlier, this lookup order business can get tricky and I honestly set you up for failure in the beginning when we created those two top level files. When you plan out your Hugo site, you have to train your mind to think differently. So, what’s the fix to get a unique about me layout? Create a folder in your layouts folder named about-me move your about-me.html file you just created into this new folder and rename it list.html (WTF?!?!?!) - I know, just do it. Then in you content folder, make a directory called about-me and then move your about-me.md file into that new folder. Refresh your browser…still nothing!? Yep, now rename that about-me.md file to _index.md and see what happens.
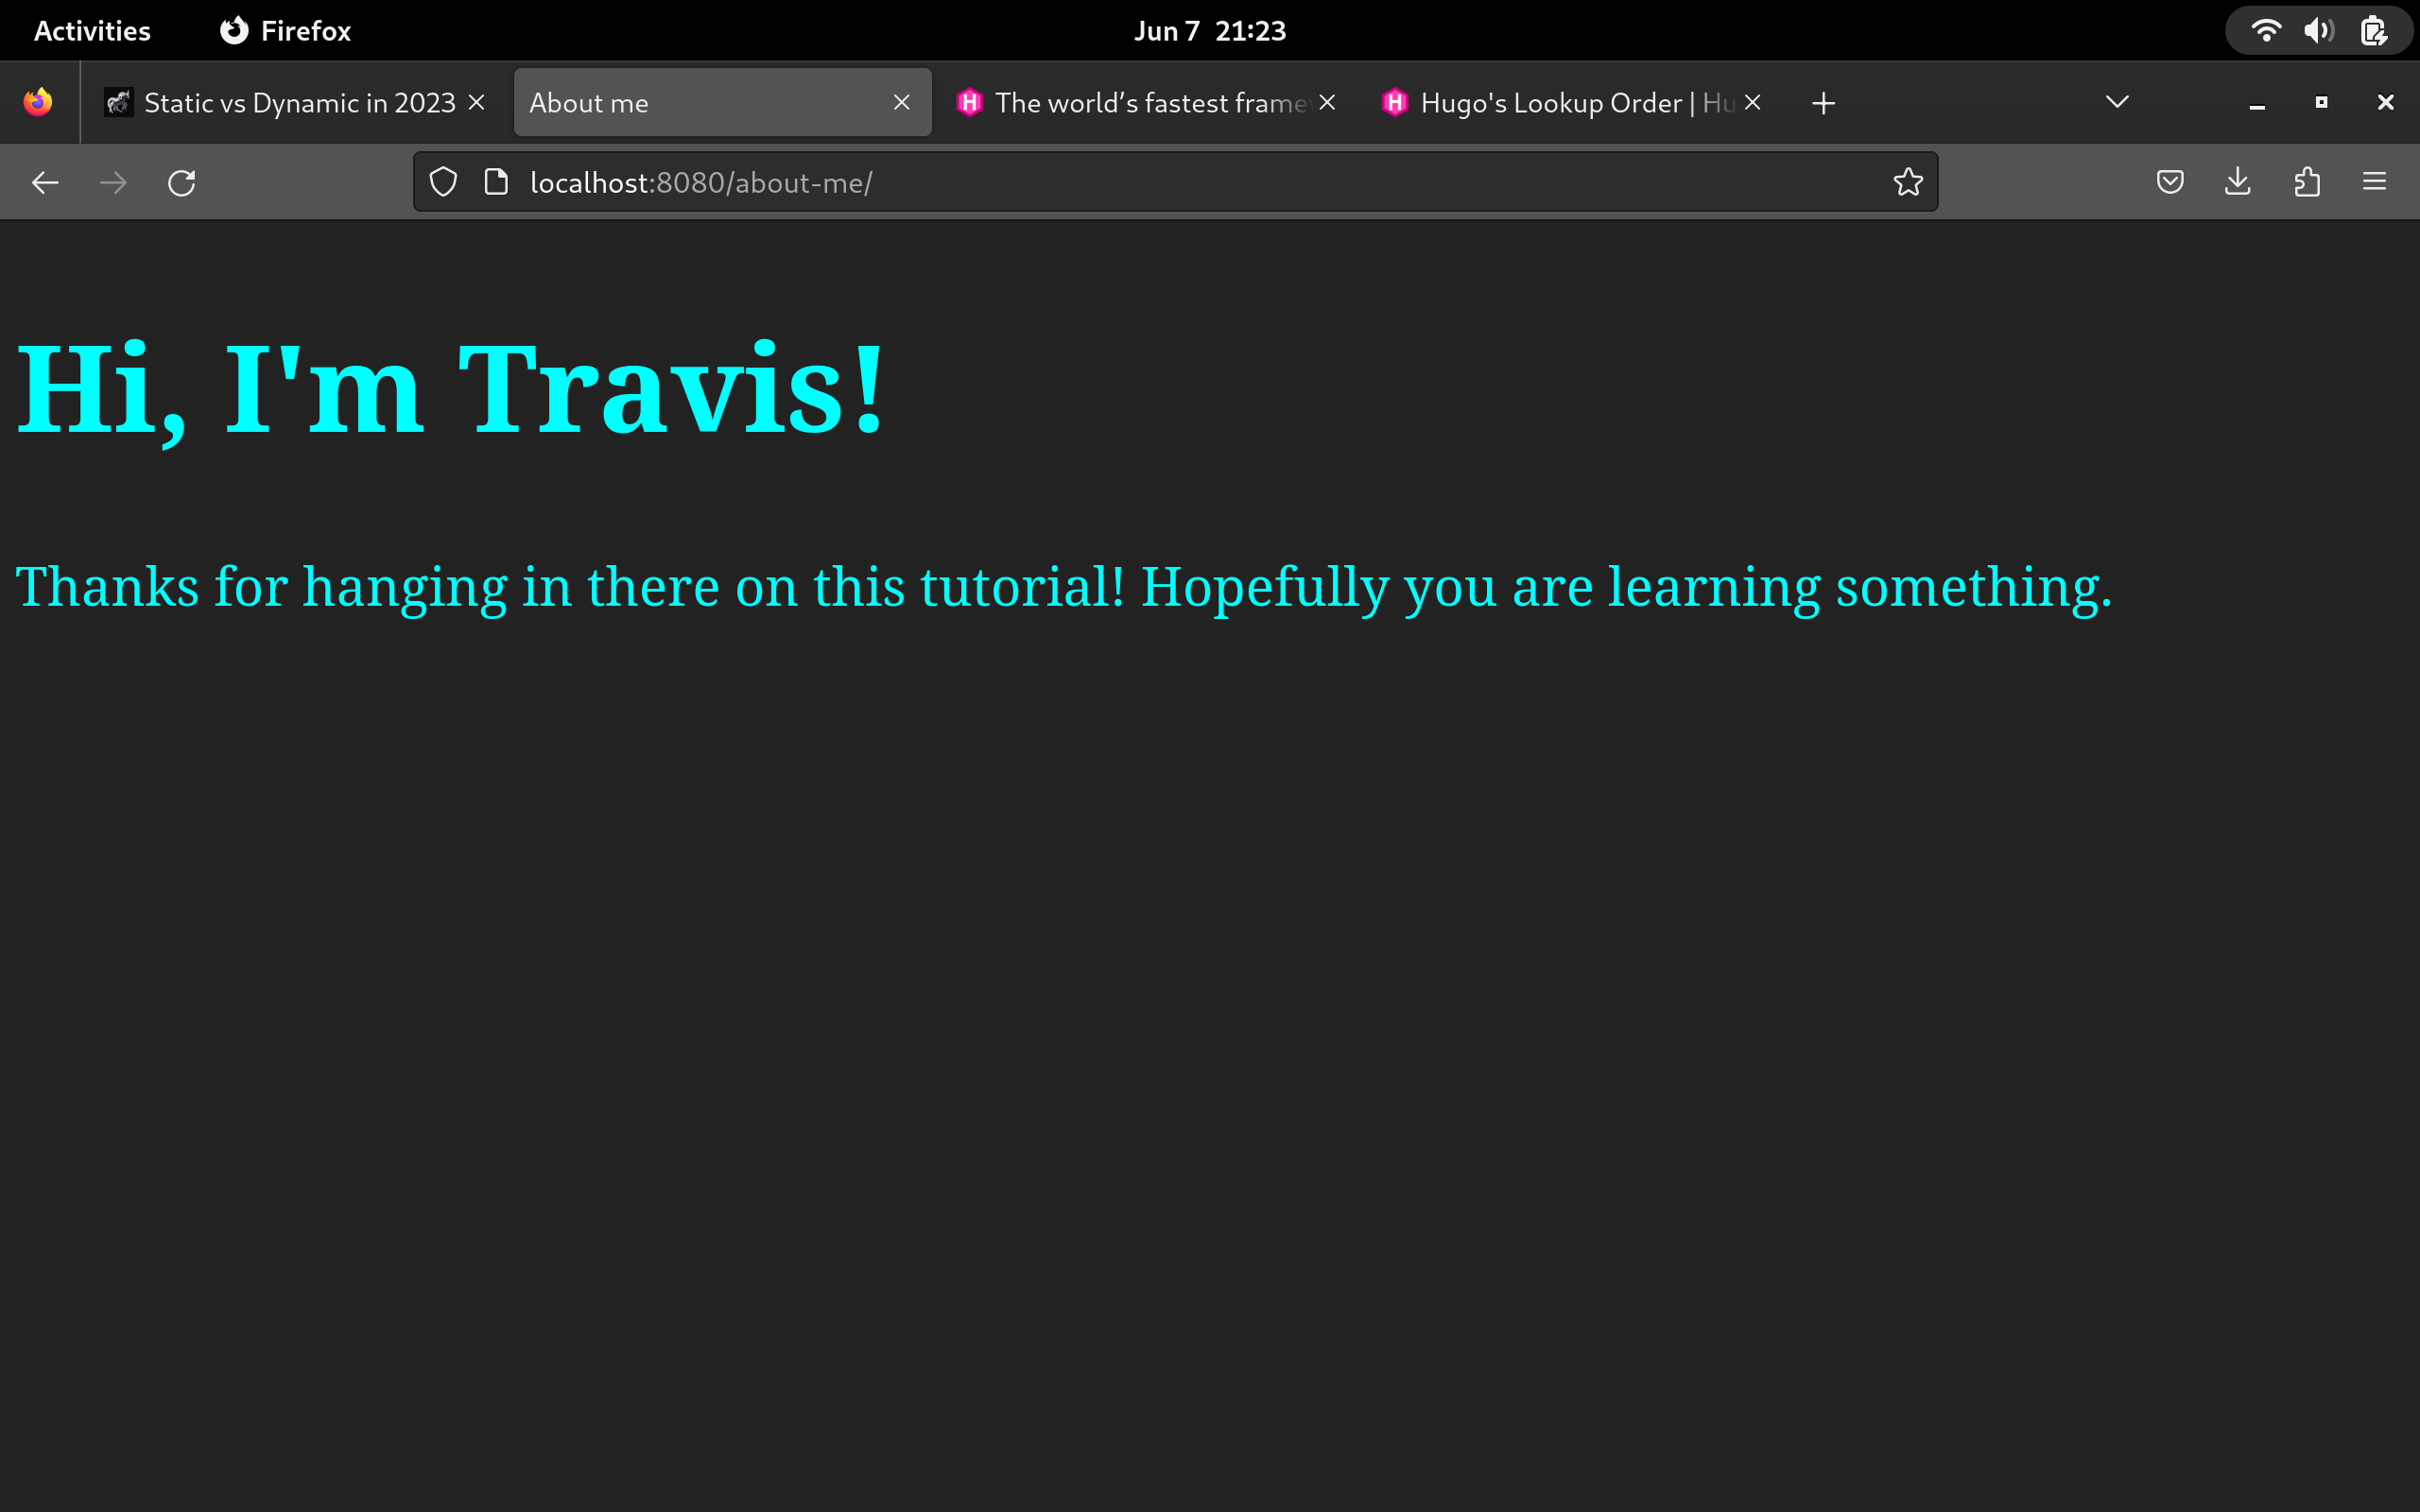
So, I know that’s a mind bender…well at least for me it was. To recap on what we have:
content/
├── about-me
│   └── _index.md
├── contact.md
└── posts
    └── my-first-post.md

layouts/
├── about-me
│   └── list.html
├── _default
│   ├── list.html
│   └── single.html
├── index.html
└── posts
    └── list.html
About as clear as mud right!? The key thing to get solidified in your approach to this paradigm is that Hugo organizes all content into sections. So, your about me page is a top level section and the page will by default expect it to be a listing of some kind. It seems totally against the grain, but it is what it is, and it gets even more complicated when you introduce taxonomies. Speaking of which, Hugo pushes two by default that you haven’t probably noticed yet:
Taxonomies and gotchas
- Tags
- Categories
Take a moment to stop your server and run the command: hugo - once you’re finished take a look in your public directory. What do you see?
[allinnia@fedora blog]$ ll public/
total 12
drwxr-xr-x. 1 allinnia allinnia  38 Jun  7 21:32 categories
-rw-r--r--. 1 allinnia allinnia 454 Jun  7 21:32 index.html
-rw-r--r--. 1 allinnia allinnia 451 Jun  7 21:32 index.xml
-rw-r--r--. 1 allinnia allinnia 338 Jun  7 21:32 sitemap.xml
drwxr-xr-x. 1 allinnia allinnia  38 Jun  7 21:32 tags
First, where the hell are all our pages we just made and second, what are these categories and tags directories? By default, Hugo created these two taxonomies for you as lists and single pages for content that matches up with them. Thus far, we haven’t even assigned any tags or categories to our content so let’s do that now. Here’s my about page modified to include tags and categories (remember this is YML format so lists have special markup)
---
title: "About Me"
date: 2023-06-07T20:01:21+02:00
draft: true
categories:
- Information
tags:
- Page
---

# About me

I am writing this create some content that we will later try to get to actually show up on our page. So far, we're just making static layout files and what's the point in that?
After you have edited each page, or not, to your liking lets do a quick comparison before you run hugo again. Here’s my public/categories before I added the stuff to my about page:
[allinnia@fedora blog]$ ll public/categories/
total 8
-rw-r--r--. 1 allinnia allinnia 428 Jun  7 21:32 index.html
-rw-r--r--. 1 allinnia allinnia 501 Jun  7 21:32 index.xml
Here’s after I run hugo again:
[allinnia@fedora blog]$ ll public/categories/
total 8
-rw-r--r--. 1 allinnia allinnia 428 Jun  7 21:38 index.html
-rw-r--r--. 1 allinnia allinnia 851 Jun  7 21:38 index.xml
drwxr-xr-x. 1 allinnia allinnia  38 Jun  7 21:38 information
You didn’t get this did you? I forgot to mention you will need to change draft to false in all content files you want to publish with Hugo. So, do that and try again. You see the difference? As your site grows and the more content you add, this will get more populated. Here’s this site (which is built with Hugo) as an example of what it starts to look like:
[allinnia@fedora zen-learn-hugo]$ ll public/categories/
total 24
-rw-r--r--. 1 allinnia allinnia 16793 Jun  7 15:16 index.html
-rw-r--r--. 1 allinnia allinnia  1569 Jun  7 15:16 index.xml
drwxr-xr-x. 1 allinnia allinnia    38 Jun  7 15:16 news
drwxr-xr-x. 1 allinnia allinnia    38 Jun  7 15:16 snippet
drwxr-xr-x. 1 allinnia allinnia    38 Jun  7 15:16 tutorial
[allinnia@fedora zen-learn-hugo]$ ll public/tags/
total 32
drwxr-xr-x. 1 allinnia allinnia    38 Jun  7 15:16 ai
drwxr-xr-x. 1 allinnia allinnia    38 Jun  7 15:16 bash
drwxr-xr-x. 1 allinnia allinnia    38 Jun  7 15:16 coral
drwxr-xr-x. 1 allinnia allinnia    38 Jun  7 15:16 firefly
drwxr-xr-x. 1 allinnia allinnia    38 Jun  7 15:16 git
-rw-r--r--. 1 allinnia allinnia 24852 Jun  7 15:16 index.html
-rw-r--r--. 1 allinnia allinnia  3789 Jun  7 15:16 index.xml
drwxr-xr-x. 1 allinnia allinnia    38 Jun  7 15:16 java
drwxr-xr-x. 1 allinnia allinnia    38 Jun  7 15:16 linux
drwxr-xr-x. 1 allinnia allinnia    38 Jun  7 15:16 minecraft
drwxr-xr-x. 1 allinnia allinnia    38 Jun  7 15:16 php
drwxr-xr-x. 1 allinnia allinnia    38 Jun  7 15:16 powershell
drwxr-xr-x. 1 allinnia allinnia    38 Jun  7 15:16 windows
This is where the power starts to show. Hugo does all the heavy lifting for you under the hood by creating lists and single pages, making organizing your content in a static collection that much easier!
Getting your actual content in your layouts
Up to this point we have been only working with layouts. As you may have noticed in my about me adjustments, Hugo can do so much more, much we will cover in later articles. So we overrode the default layout for our about me page, but now we want to get the content of the actual .md file we made. So, here’s the modifications and a screen-shot:
<!DOCTYPE html>
<html>
<head>
  <title>{{ .Title }}</title>
  <meta name="description" content='{{ or .Description "" }}'/>
  <style>
  body {
    background: #222;
    color: cyan;
  }
  h1 {
    font-size: 64px;
  }
  p {
    font-size: 28px;
  }
  </style>
</head>

<body>

  <h1>Hi, I'm Travis!</h1>
  <p>Thanks for hanging in there on this tutorial! Hopefully you are learning something.</p>
  {{ .Content }}
</body>
</html>
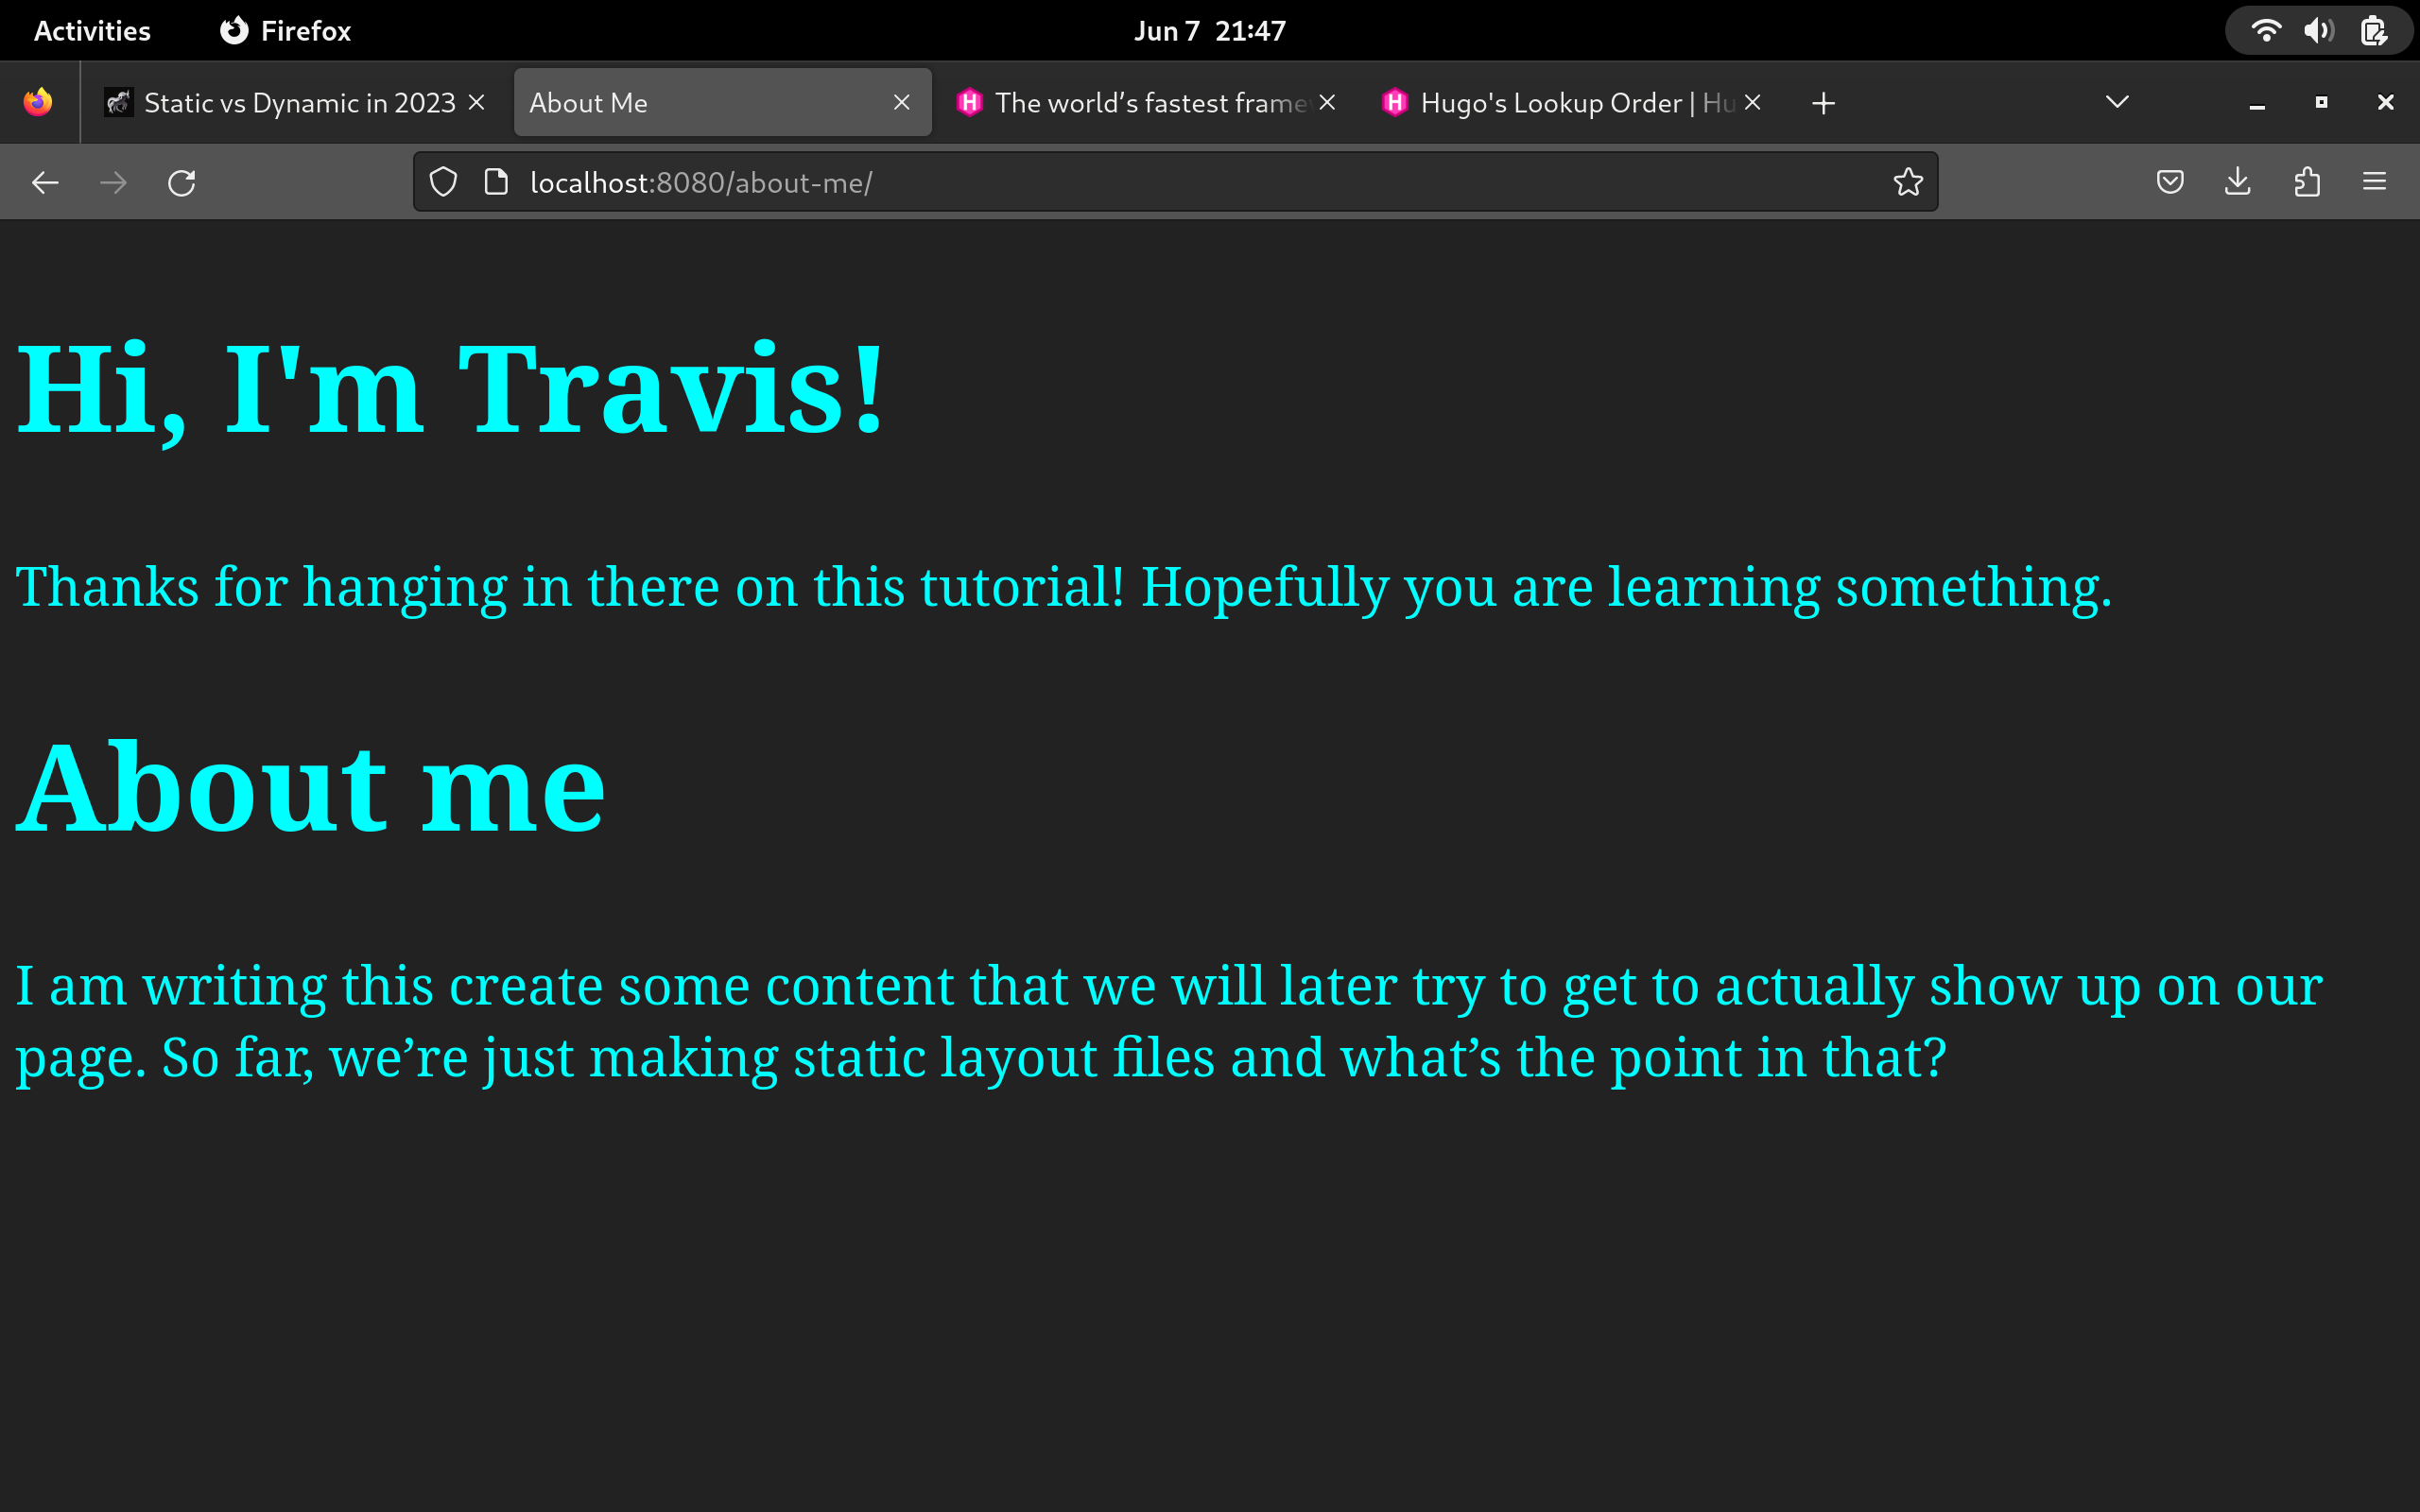
As you can see I have inserted some of those curly braces in and hugo has replaced them with actual content. This takes your layout planning to a whole new level. I hope you are starting to see the power bubbling up! In this example I have inserted some of the available Page variables that Hugo provides out of the box. I also used the or function to illustrate how conditionals work in Hugo (I have a whole article coming on that) - I am still learning too.
- {{ .Title }}
- This is a built-in page variable and by prefacing it with a dot, we are referring to the page as the parent of this variable: Title. The curly braces act as an “echo” command to print out the page’s title
- {{ .Description }}
- Same as the title, but this is actually a shortcut to .Params.Description
- {{ .Content }}
- Obviously, the most important aspect of a site is it’s content and this is how you access it
Static assets
Up until now, we haven’t included any external assets in our project. Let’s move the page styles for each layout into a site.css file in a directory called css in the static directory. So that should be: static/css/site.css. Once you’ve copied all your styles over go into your layout file and include a link to your new styles sheet like so (about list layout as example):
<!DOCTYPE html>
<html>
<head>
  <title>{{ .Title }}</title>
  <meta name="description" content='{{ or .Description "" }}'/>
  <link rel="stylesheet" href="/css/site.css">
</head>

<body>

  <h1>Hi, I'm Travis!</h1>
  <p>Thanks for hanging in there on this tutorial! Hopefully you are learning something.</p>
  {{ .Content }}
</body>
</html>
You should see the same thing now. Notice I didn’t preface the link with static. Hugo does all the urls based on an absolute path from the root of your public directory. At this point you should have a good working knowledge of how the content and layouts work (hopefully) and how to get static assets into your site. We can make our layouts even cleaner and more reusable using partials. I’m going to save that for the next article which should be out soon. In there we will talk more in depth about how to use custom data, if statements and loops, and how to get lists of pages and actually display them on your list page.
Static vs dynamic so far
Static sites offer the benefits of quick load times and less taxation on your server. They also offer an excellent, low maintenance, deployment. When we start to dive into the real “dynamic” power of this static site manager, you’ll start to see a lot of the stuff you spin up a framework for could be migrated. The idea that global state can be maintained using static site creators is pretty awesome if you leverage it. Obviously, you will still need your dynamic stuff when your dealing with fluctuating data on the fly and processing user input etc - but could you possibly simplify and reduce your dynamic footprint? Give it a shot! Hugo offers a pretty solid way to manage your content. You can use the PHP at a single endpoint and include that data dynamically using javascript which helps to separate concerns with your content on one side and your brains on the other.
I hope you practice using the examples we used and start working through that awesome documentation on the Hugo website. Now, I promised you a script that makes all this worth it. Imagine this: you can deploy your website changes by running just one script - well you can:
#!/usr/bin/env bash
hugo && rsync -avz --delete public/ user@ipaddress:/var/www/html/yourwebsite/public
ssh user@ipaddress chown apache:apache -R /var/www/html/yourwebsite
The power of rsync and ssh combined into one massive deployment assist! Once we start covering how hugo works more in detail, we’ll return to this script to see how it makes deploying your changes less of a headache. You’ll never use an FTP client again! As always, I hope this article helped you out. I’ll see you in the next one as we continue creating our new blog. Perhaps we’ll use bootstrap to style up a working decent site? See you then.


