The central mechanism of Coral
Monitors make up the key building block of your Coral installation. To sum it up, monitors are a pointer to a parent directory and are responsible for backing up, scanning, and alerting you to any changes. The main monitors page offers two methods to set up a new one:
- Add using an absolute path on your server (with Apache read access)
- Using the built in file navigator
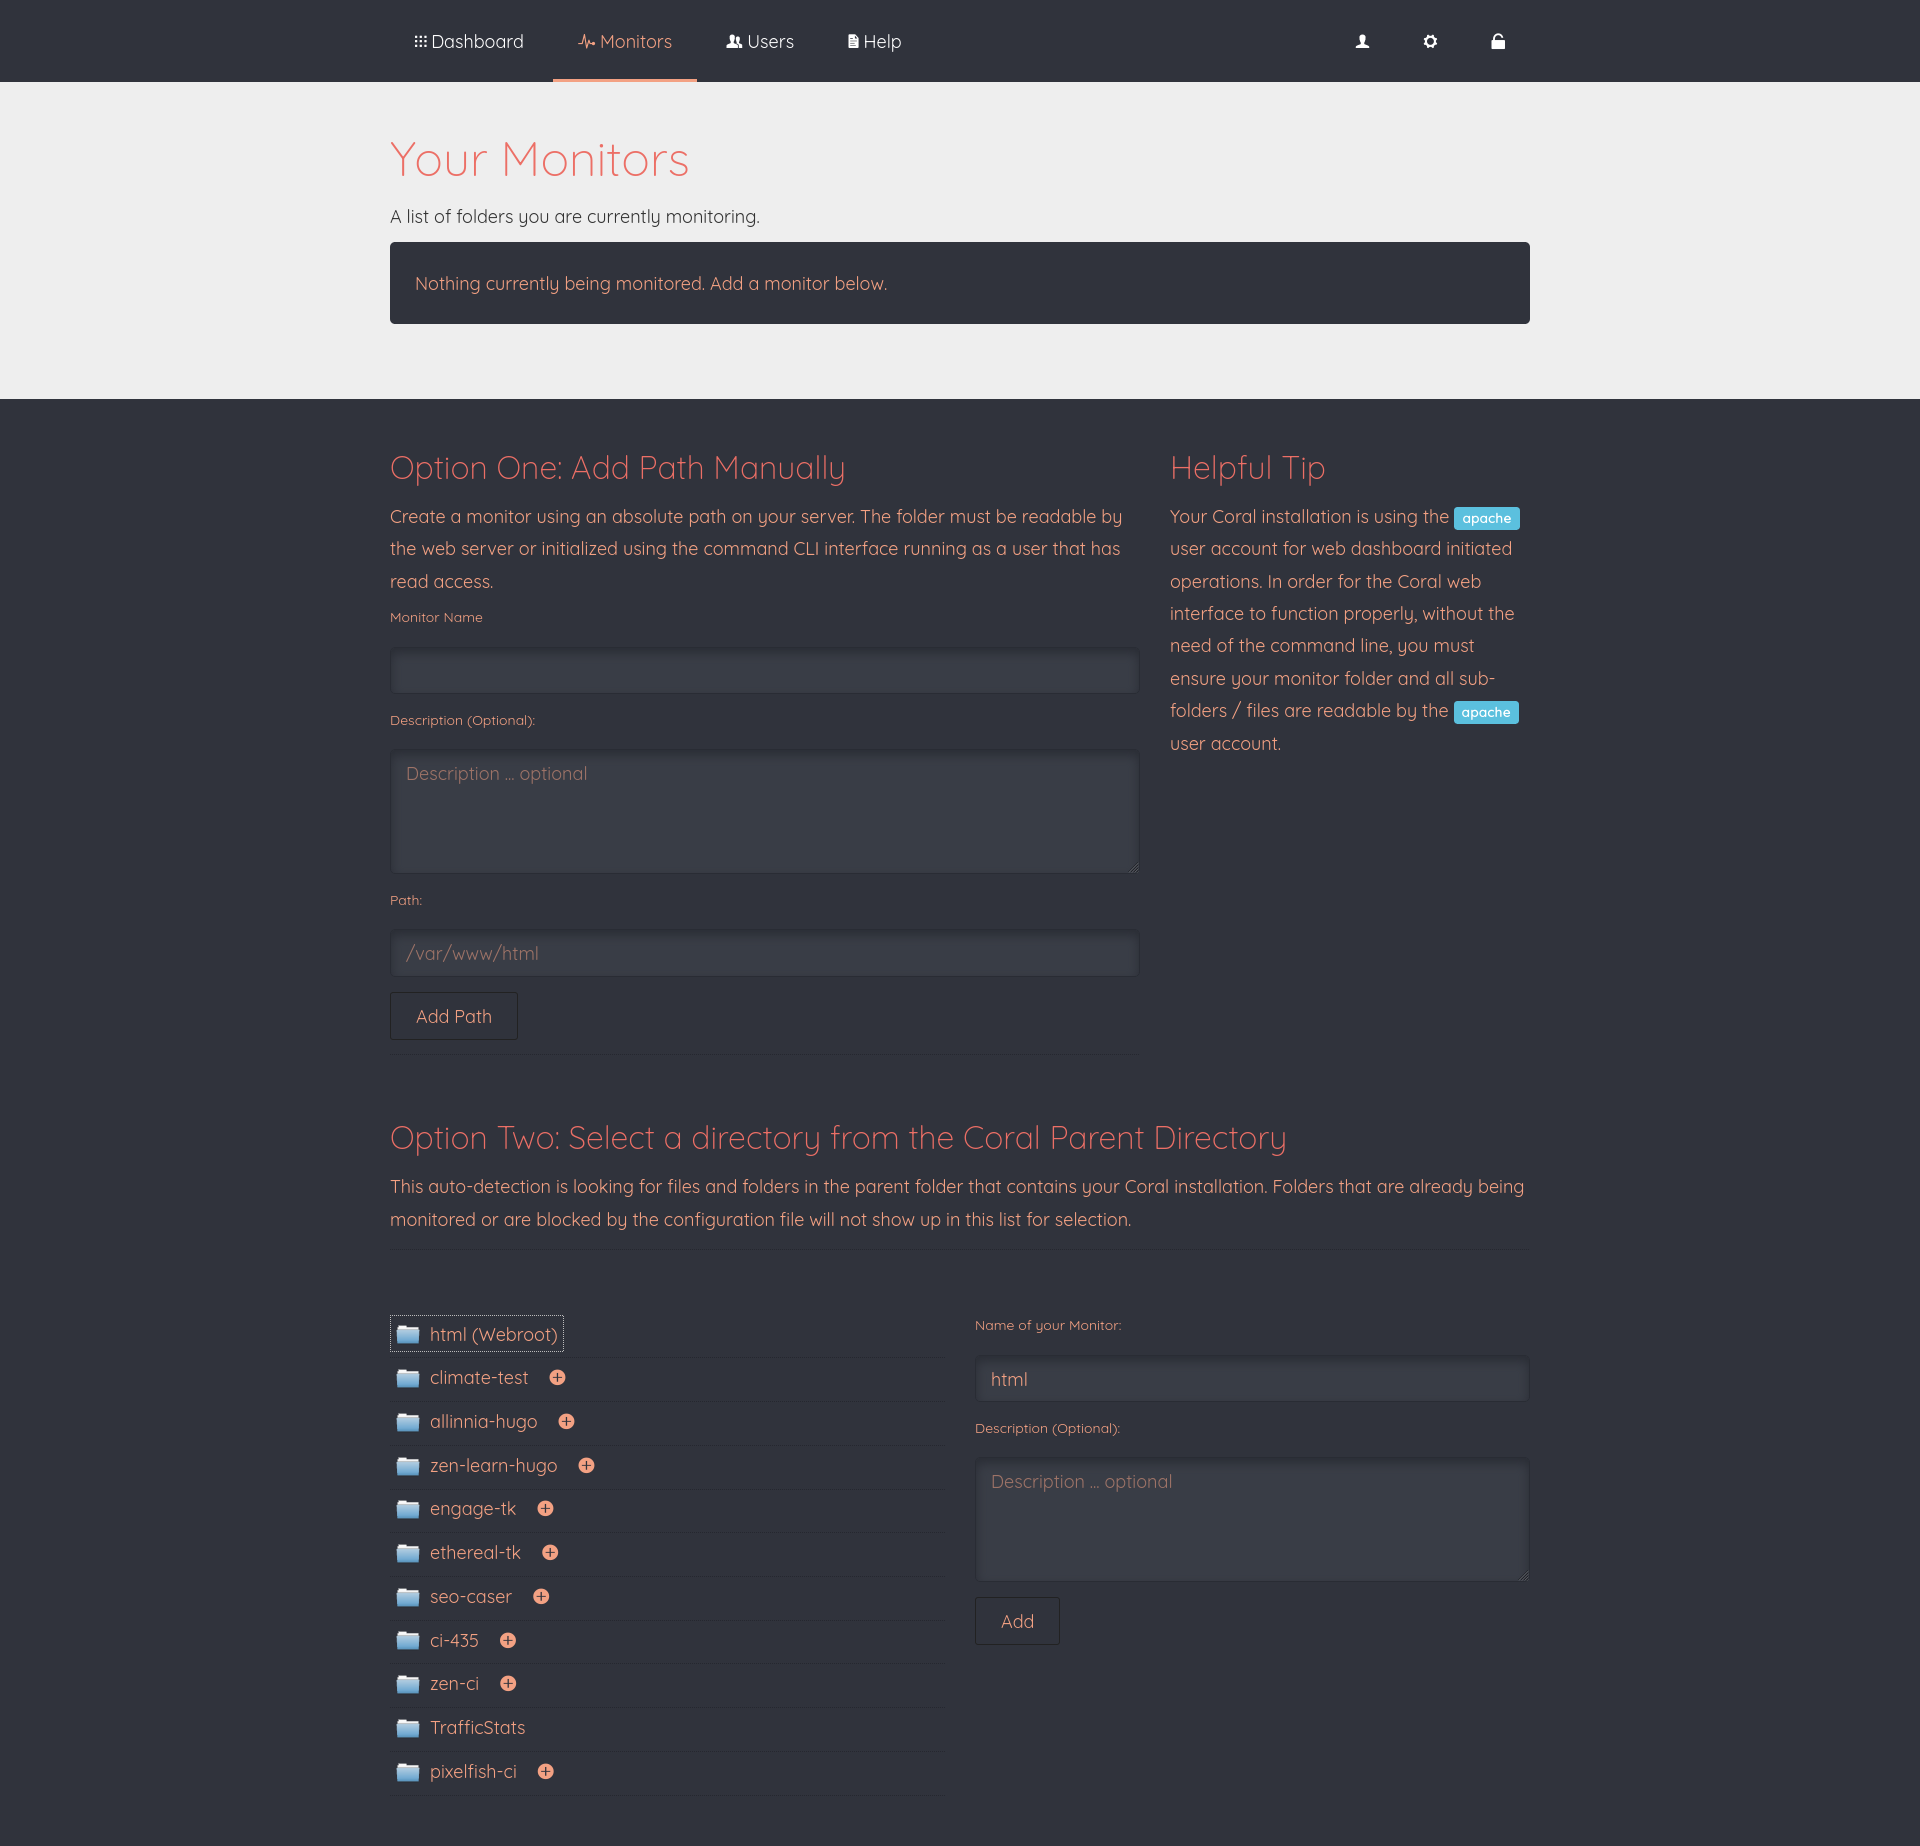
It is important to keep in mind that Coral will not scan folders that belong to other monitors or to Coral itself. This prevents redundancy and recursion issues from backing up the same files repeatedly. Once you have created a new monitor it will show up in your list, as seen below.

You will notice that it is there, but it is showing as not initialized. This is important because each monitor can be configured differently. This gives you a chance to explore the options available and then initialize your repository and start scanning. Go ahead and click on the folder icon to go to your new monitor.
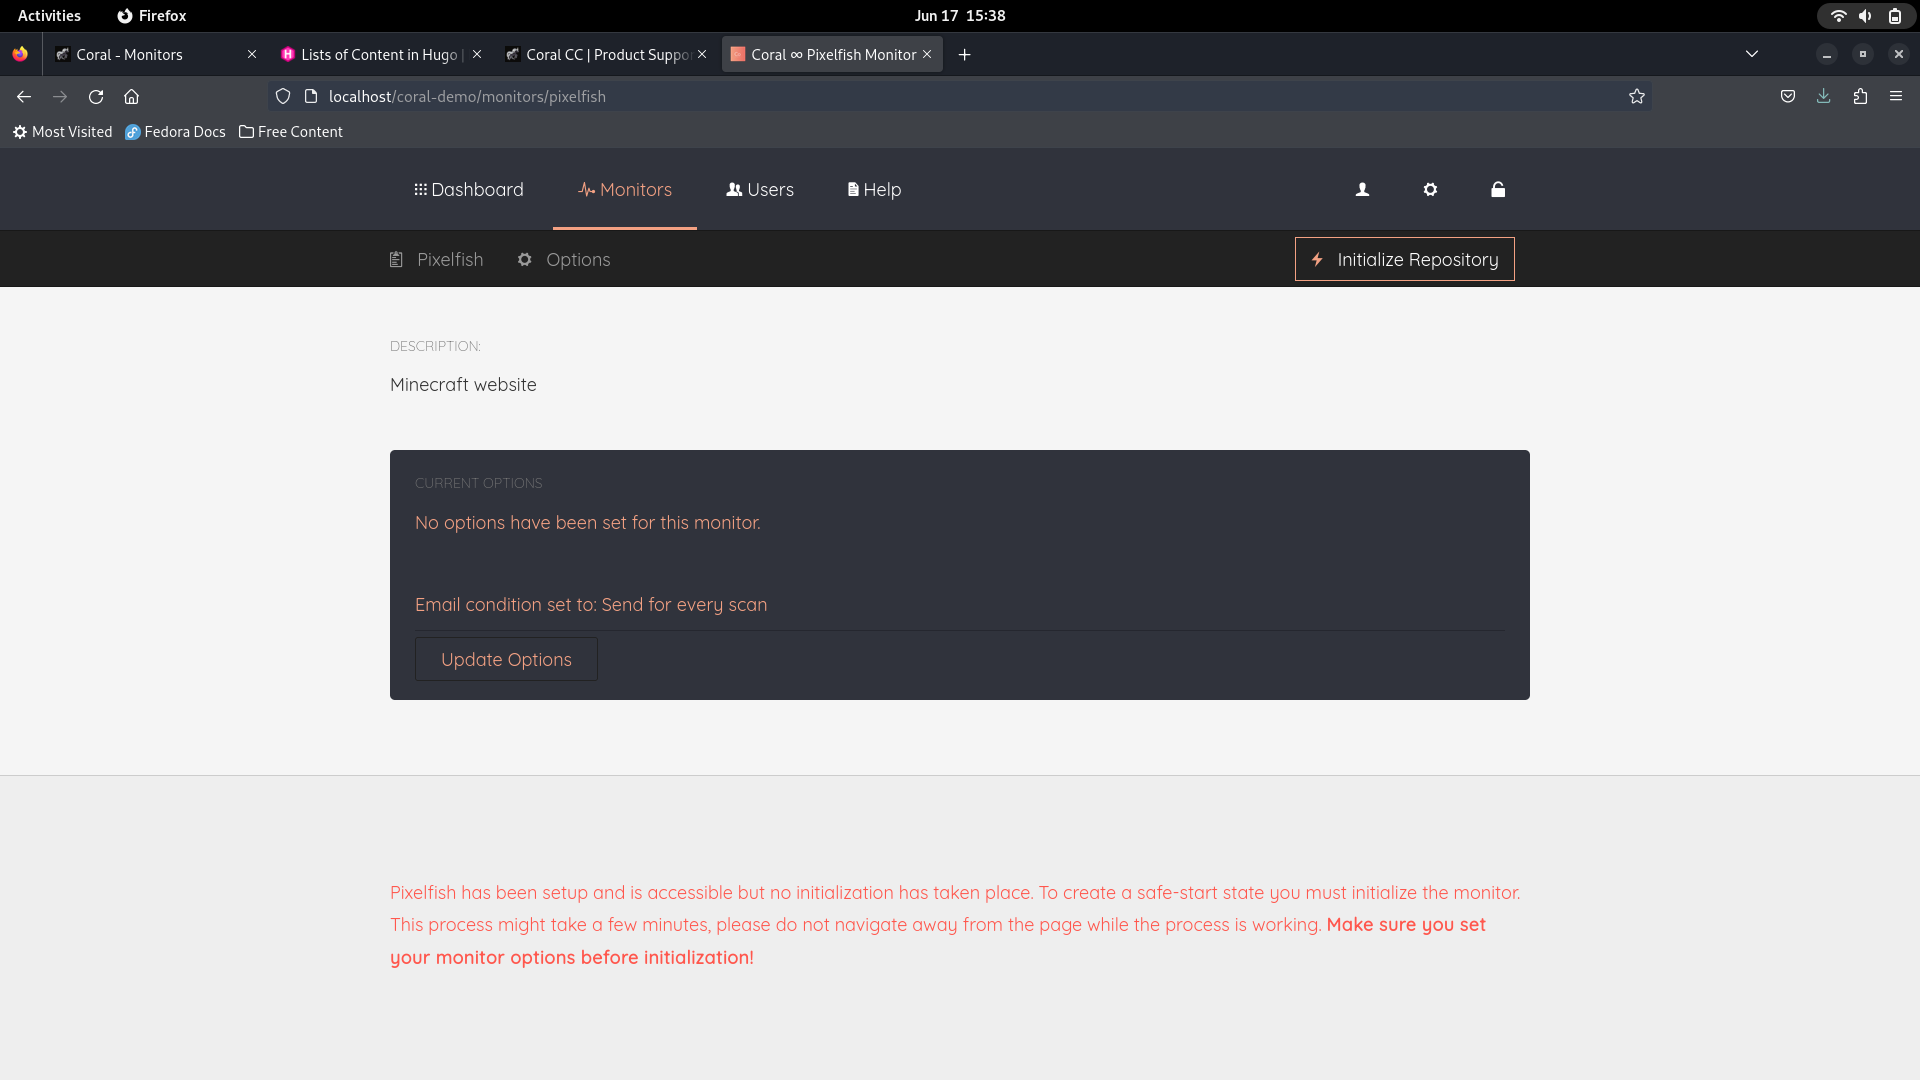
Setting up the Options
As mentioned, the first thing we need to do is set up our options. Coral comes with some pretty sane defaults, but it does give you the ability to tweak it as you see fit. Clicking on the options button either in the top navigation bar or in th emiddle of the page will take you to this monitor’s options page.
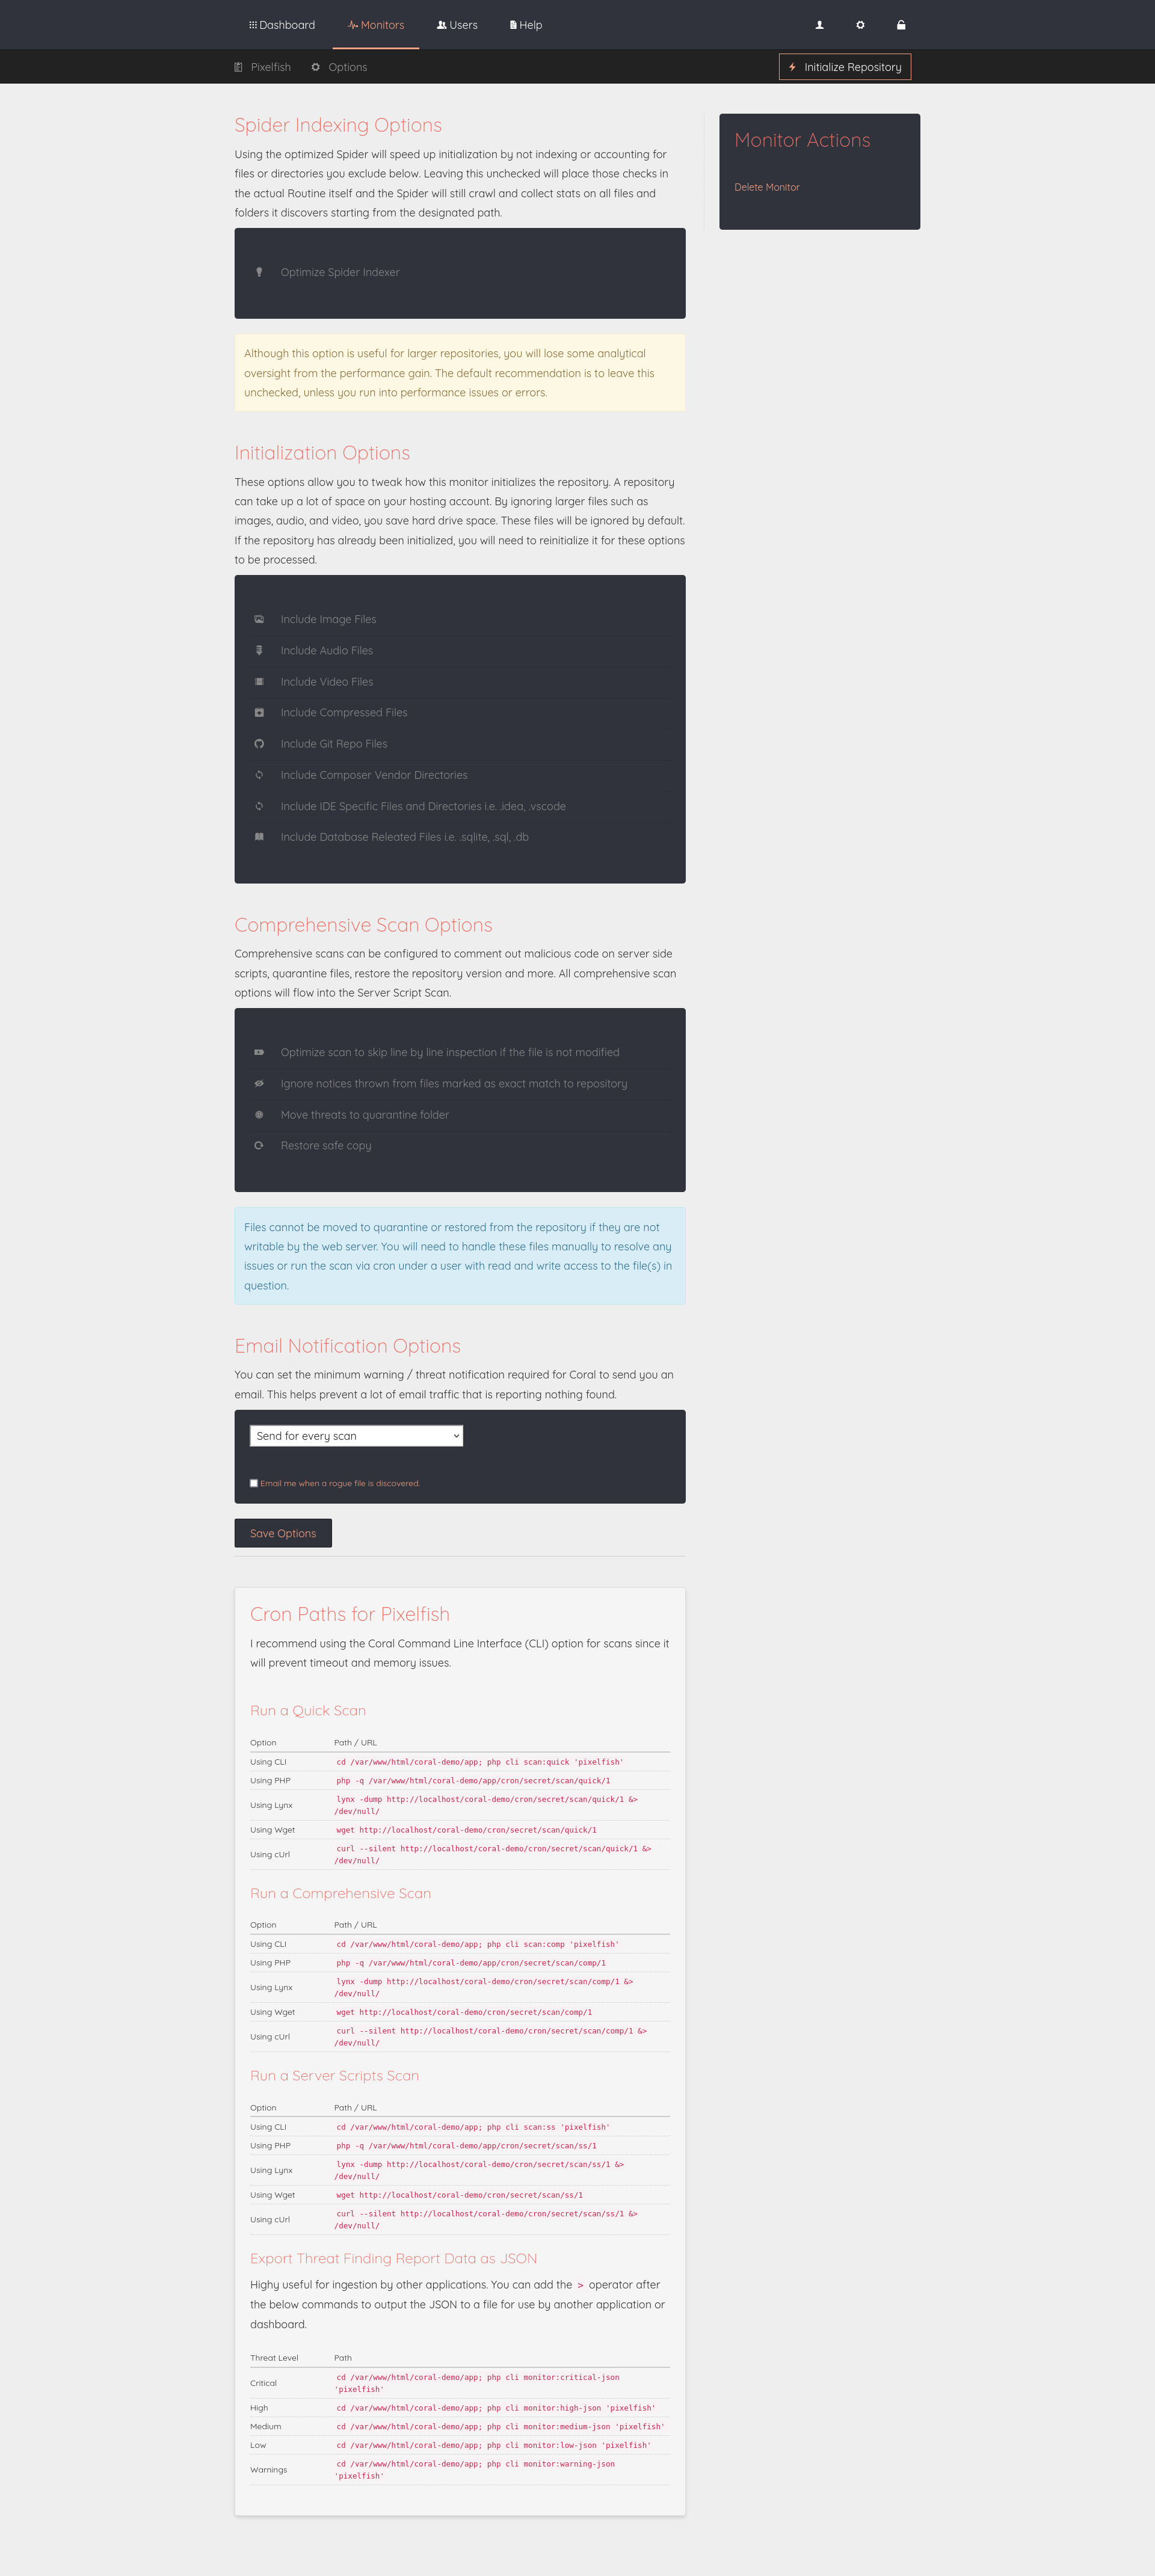
As you can see, it offers some pretty sane defaults - most of which you really shouldn’t need to mess with, unless you really want to. You can also find out more about what each option does by clicking on the documentation link in the top navigation menu. Once you’ve selected you options, don’t forget to click save at the bottom of the page. You can confirm your options were saved by visiting the main options page again to see a list of all options you have selected for this monitor.
Before we move on to initializing our repository, take a moment to check out those cron paths at the bottom of the options page. Obviously, you can do scans on demand, but the true power of an application like this is to set and forget. These are just a few of the ways you can interact with your Coral application using cron on any *nix like system. This is also where that API secret phrase in the installation comes in handy since it is a part of all GET requests to your monitor scan routes (so make it strong).
Initializing our repository A.K.A Safe State
So, now that you have set your options as desired, go ahead and click on the Initialize Repository button and wait for it to finish. Depending on the size of your site, this could take a while. If it is going for more than five minutes, you’ve likely exceeded your Apache timeout directive or the allowable memory limit in your php.ini file. You may have to change those individually if that is the case.
If you set up a monitor for a folder that has in excess of 40K files, you will probably run into some memory errors. There are a couple ways to deal with this, but it depends on what your web host allows. If you have access to your php.ini file and can make changes, you will need to bump up your memory_limit value. 32M is good for sites that have less than 10K files. Anything greater than that and you will need to adjust this up to 64M or higher, depending on your specific situation.
Another work around, is that you should break large folders up into smaller monitors. Coral will give you a warning message on the monitor’s index page if your monitor is too large. If you can’t break up the site, due to the way your site, or client’s site is structured, then you will have to bump up your PHP memory limit.
Another thing to consider is that Apache might be configured to timeout scripts after a certain period (usually 30 seconds). If you know how to edit your Apache httpd.conf file, then you can do that as well. However, doing that is way beyond the scope of this support question!
Performing scans
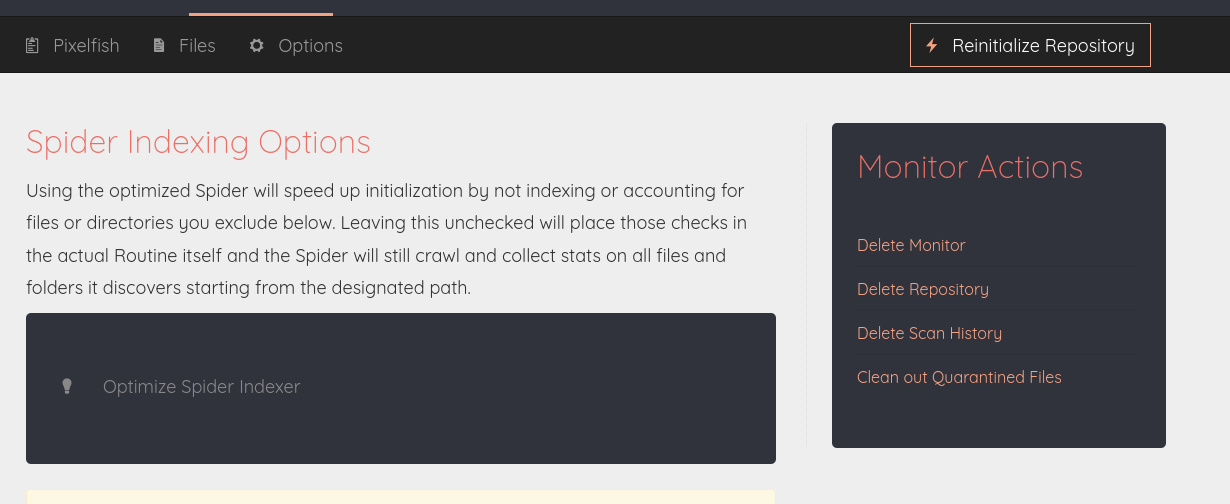
Now that your monitor is initialized, you should see your options page has changed, and you also have new options to actually do scans on your main monitor page. Coral offers three kinds of scans:
- Quick
- Comprehensive
- Server-Side Extensions only
Each is quite different in how it approaches your files. The Comprehesive and the Server-Side scripts scans go line by line through the content of your files looking for PHP-specific security anti-patterns. If it finds them, it will display them to you. Here’s mine after I performed a comprehensive scan.
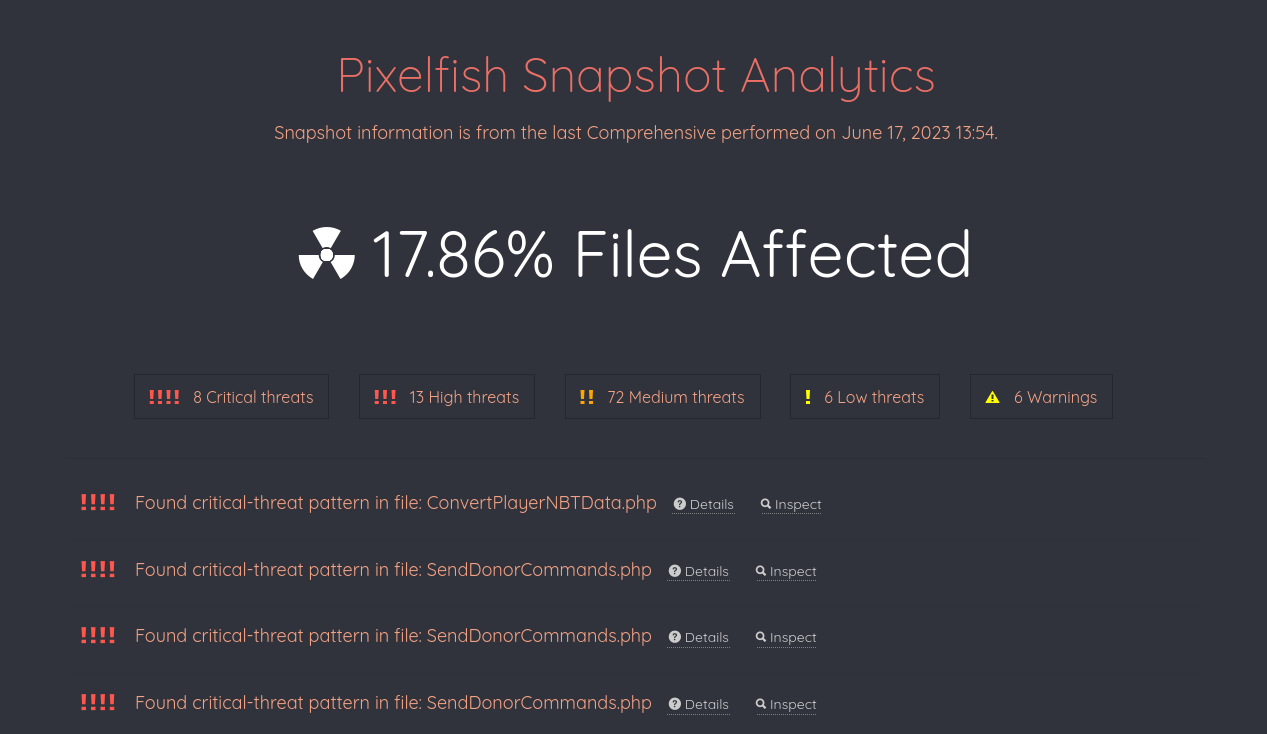
You can toggle the list by severity and click to actually see was found. The overall percentage at the top is the total percentage of files Coral scanned where it found some kind of issue.
You can look at files individually, by clicking on the Inspect link from the main page. This will give you a file-centered view of what was found, by file, and it also gives you options to restore from a safe copy, quarantine a file, or remove affected files. Obviously, this is where the safe state repository we set up earlier comes into play. As long as Apache has read/write access to all your web application’s files, you can restore or remove as you see fit. In the screenshot, you can see my permissions are not setup properly for all my affected files. This is something I would need to fix.
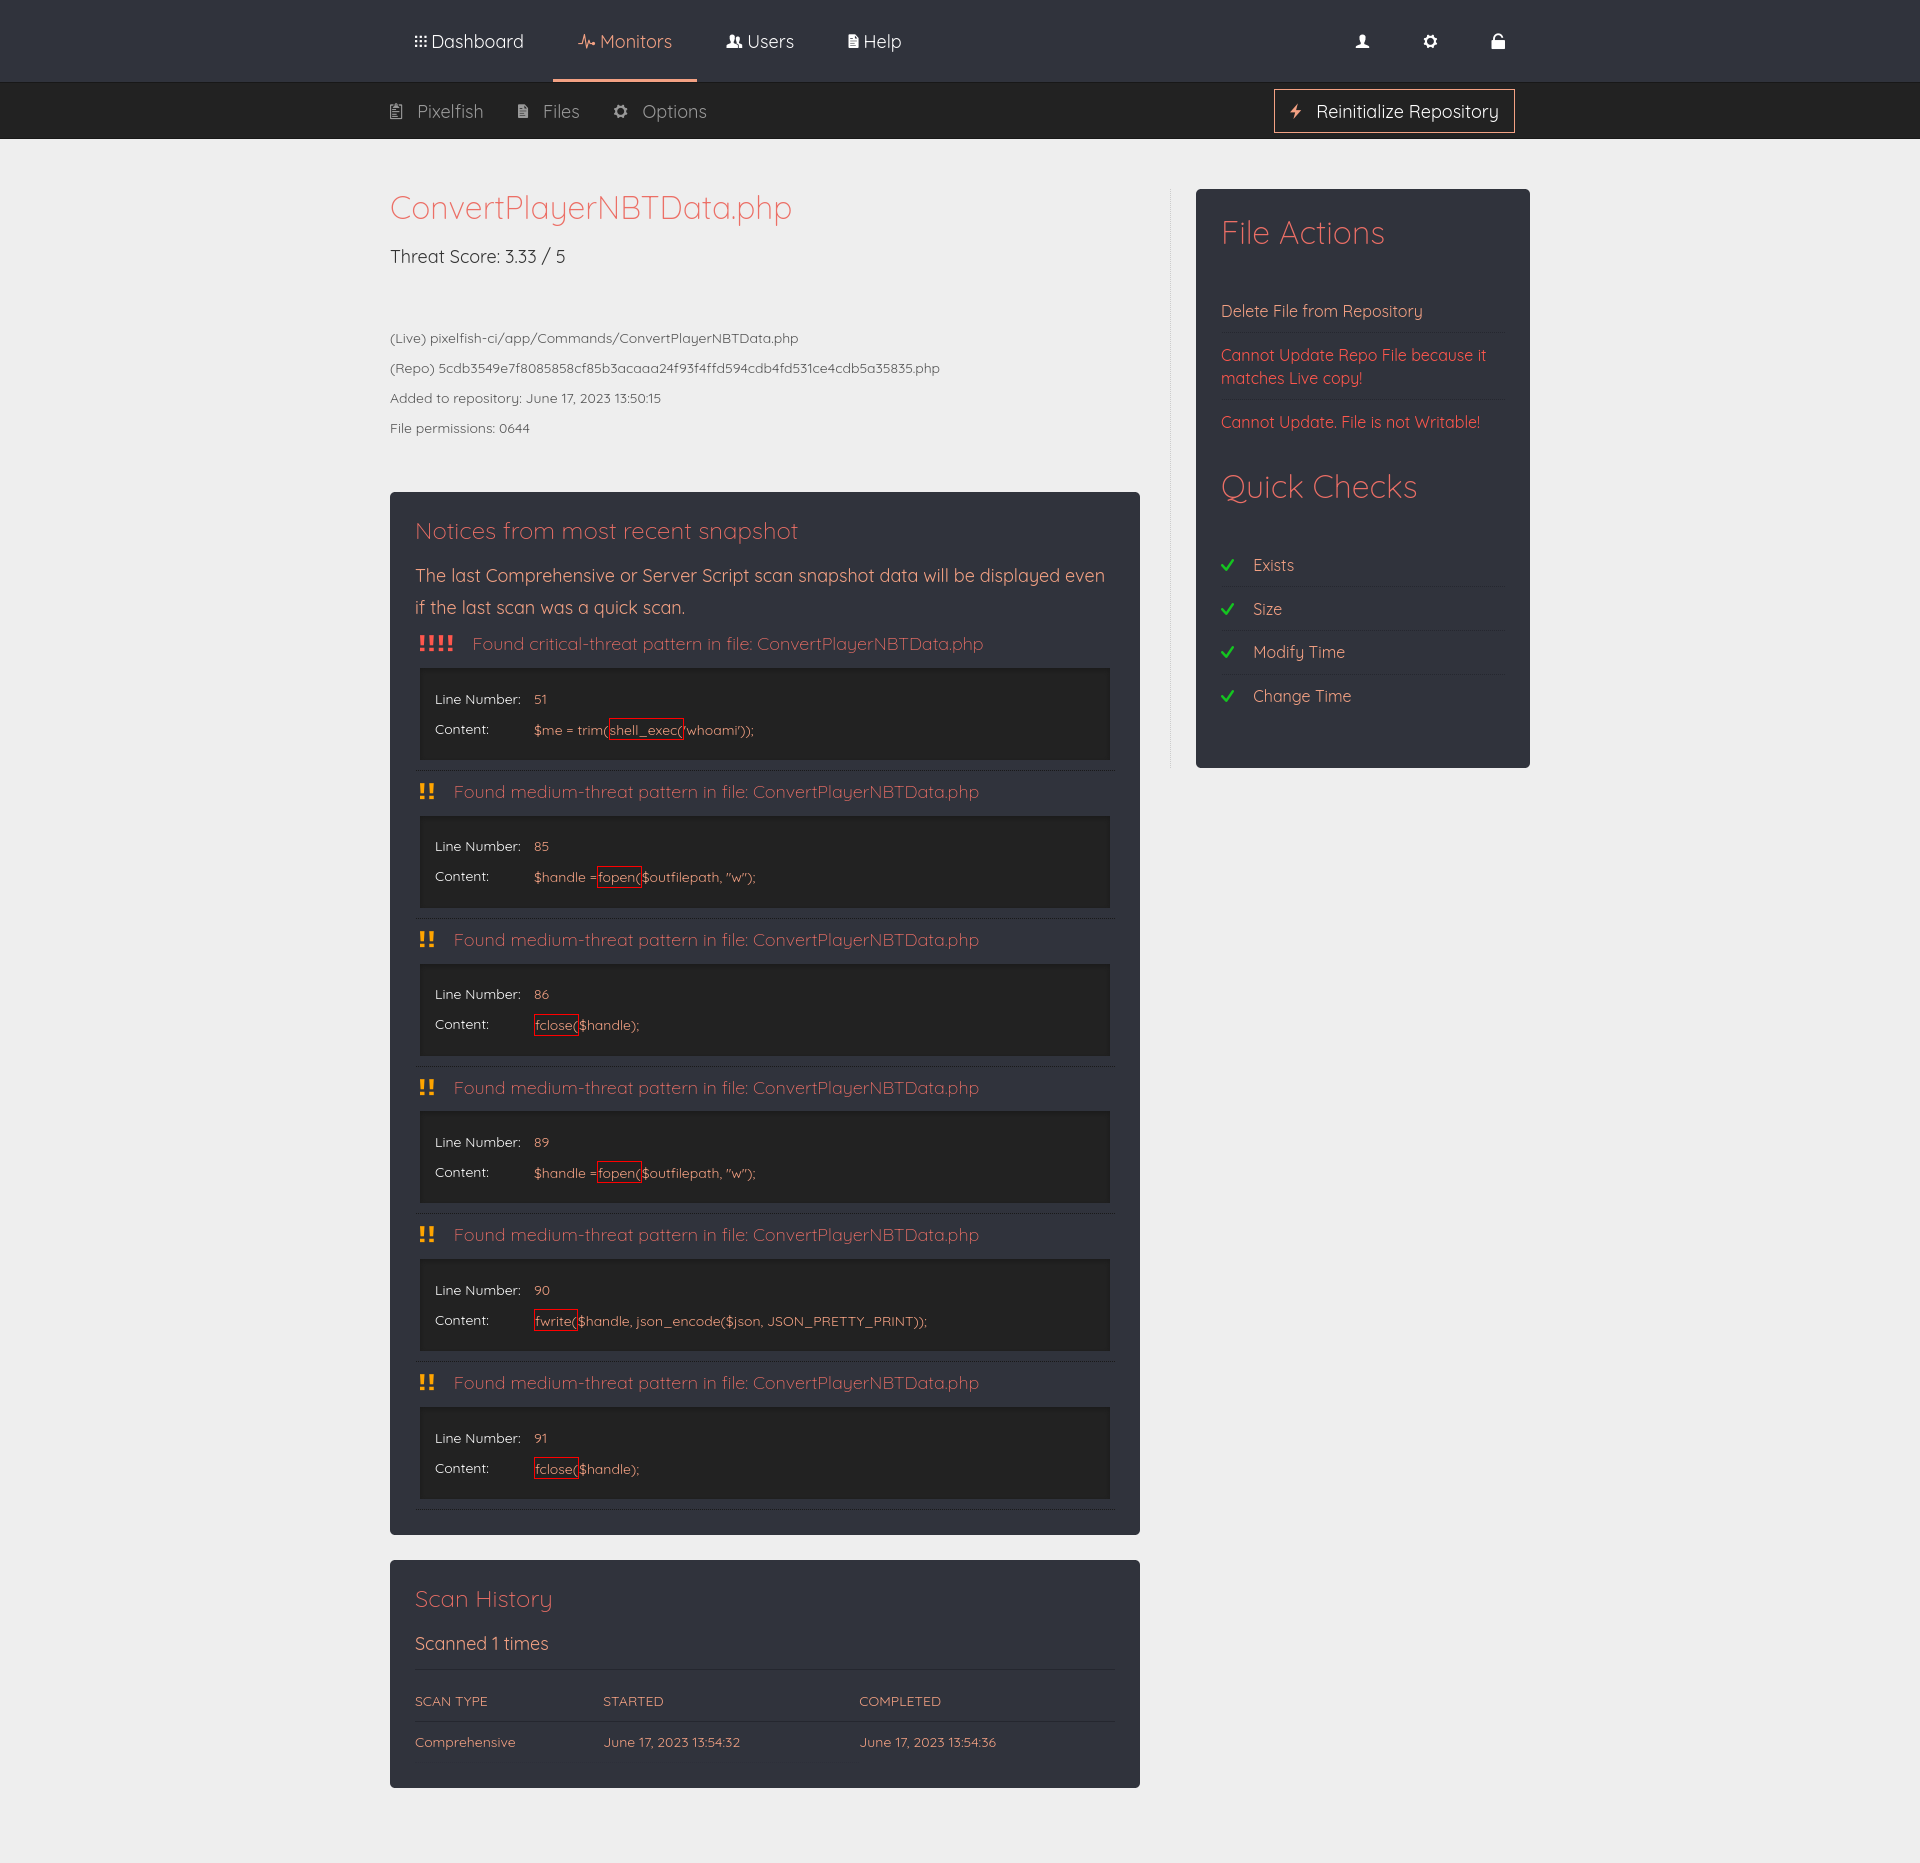
Looking through your files
If you click on the files link in the navigation toolbar, you will be taken to a page with some high-level stats for your monitor.
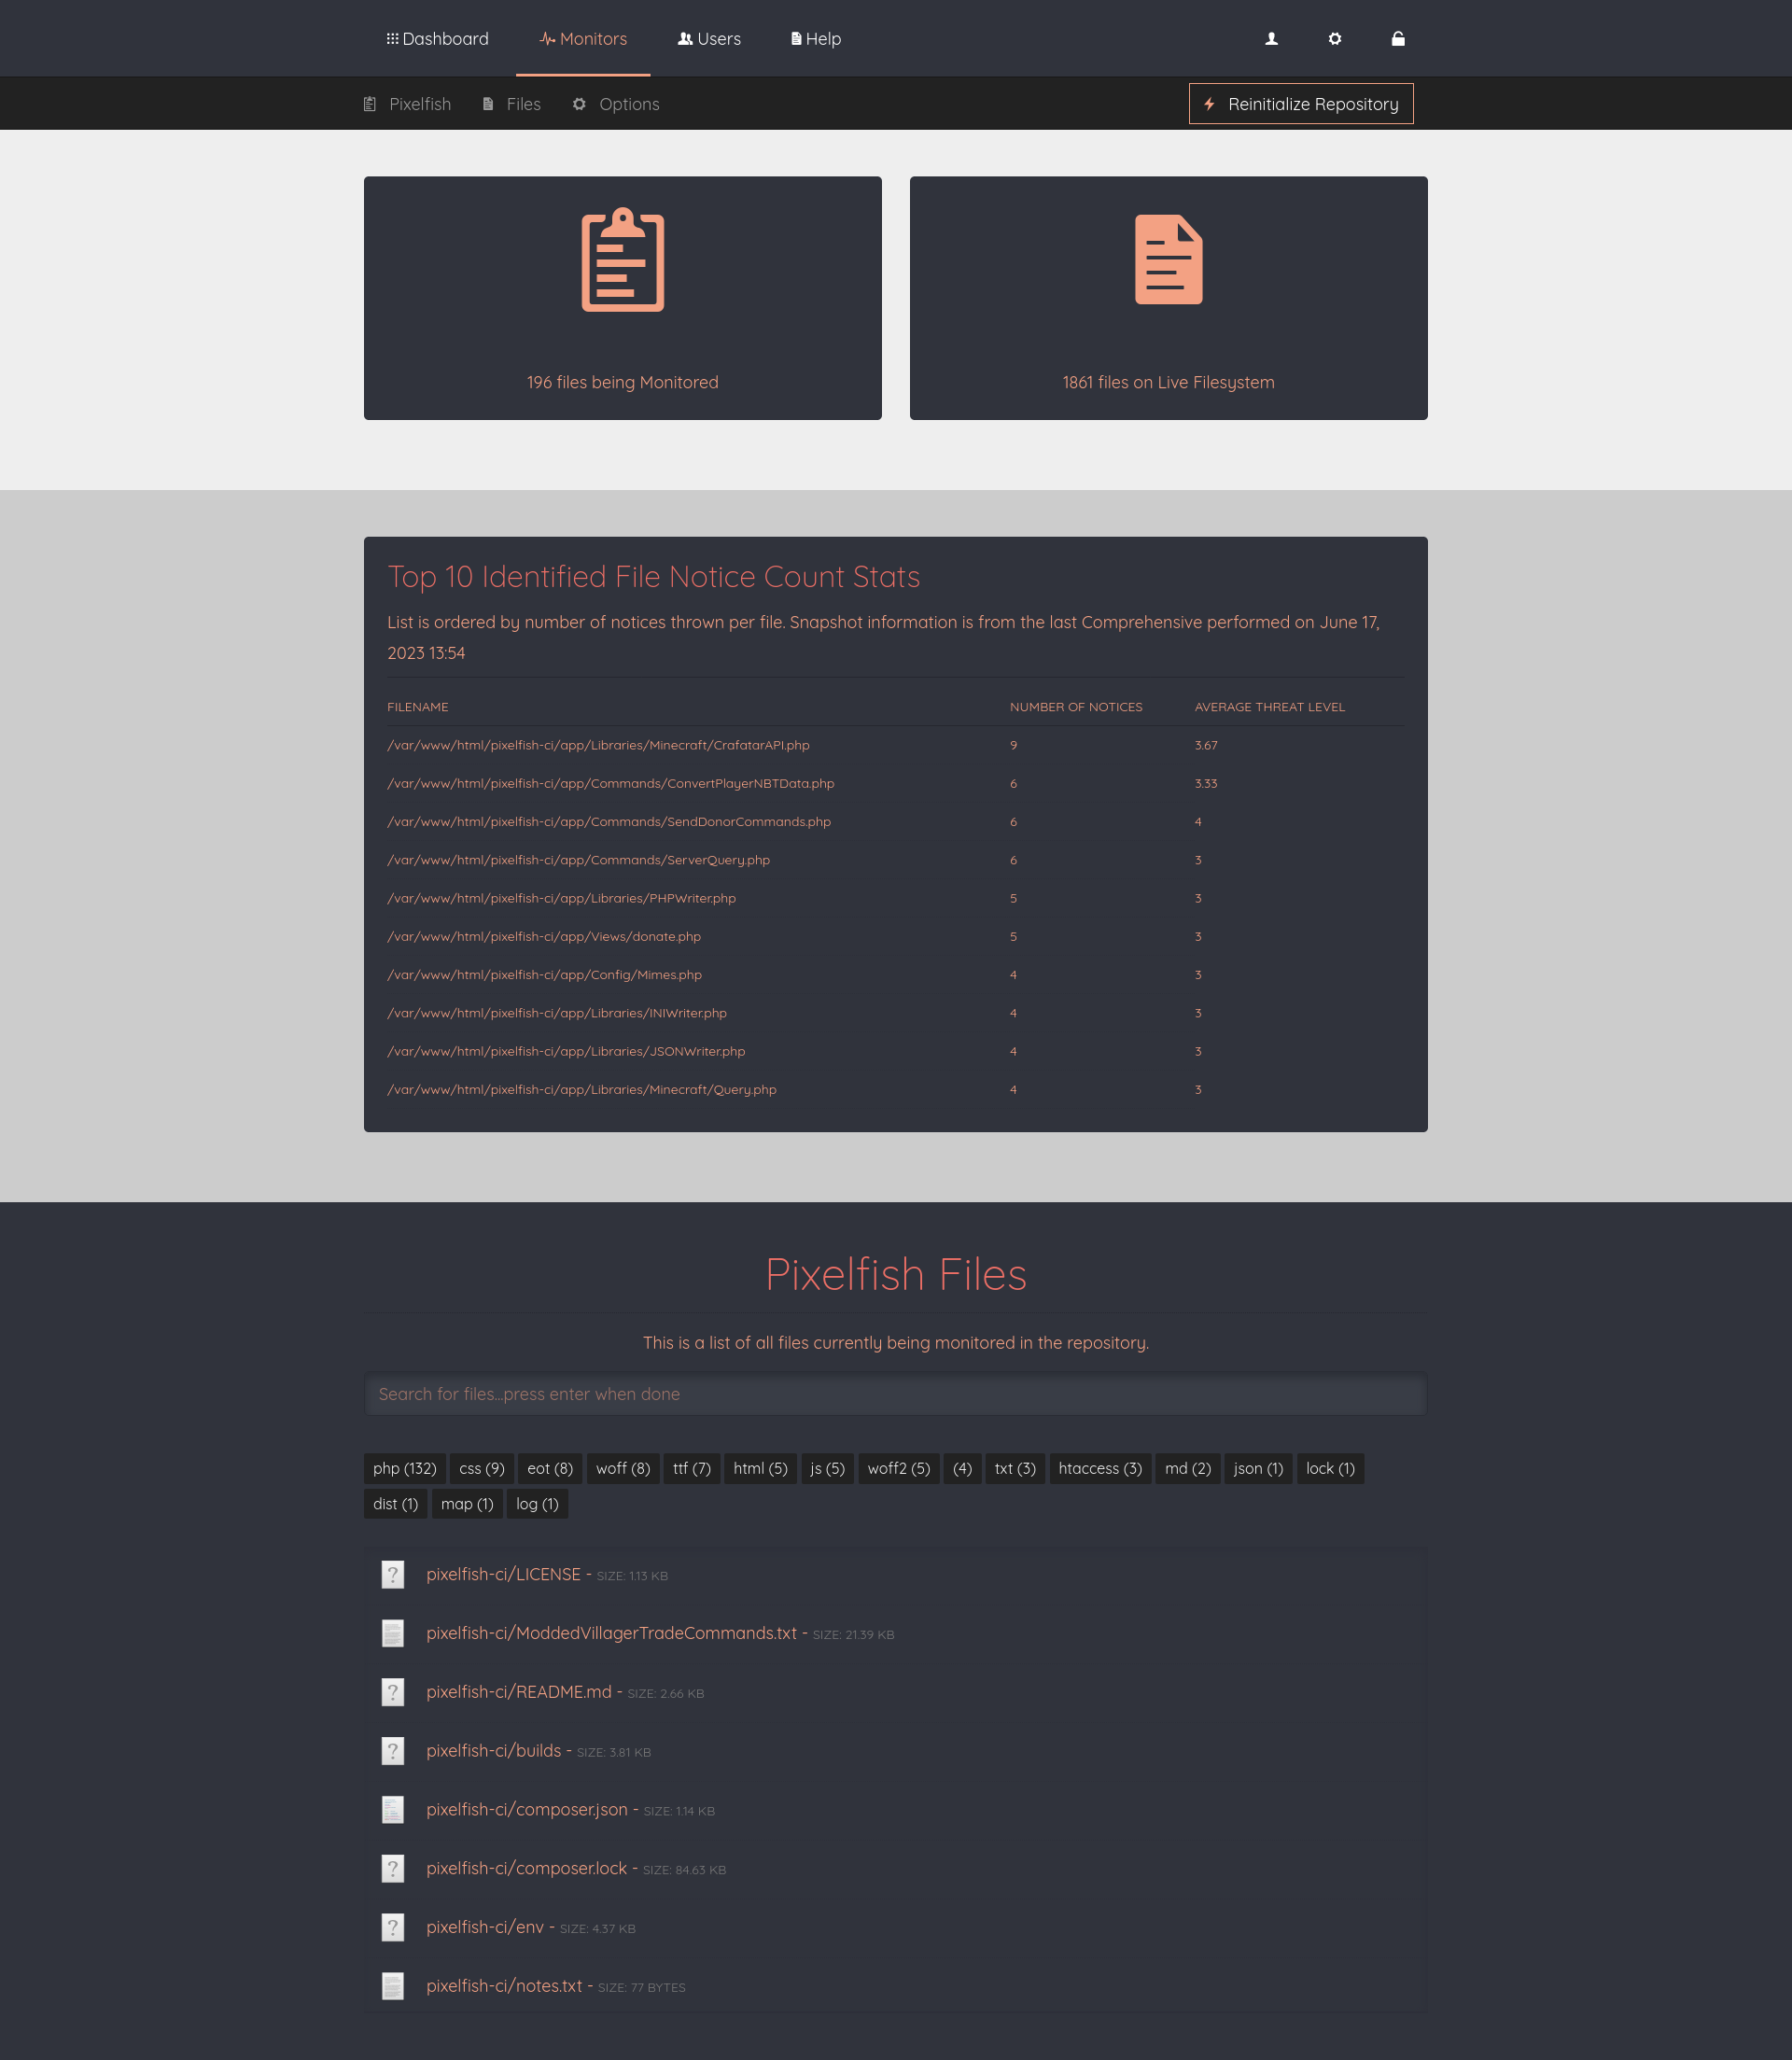
The search field in the bottom will search as you type. You also have the option to see files by extension type.
Setting up cron jobs for automatic scans
Now that you know your way around the monitor pages, try setting up a cron job using one of the methods outlined on the options page. I recommend running a scan at least once per hour, but you can run it as often as you need to. Just keep in mind that, depending on what other stuff your server does, it might impact performance slightly. PHP7 is pretty efficient and PHP8 is even better. Coral version 1.2.0 works with either.
Important Notice
Coral version 1.x will reach end of life at the end of July 2024. For more information, be sure to check out the main support page.


